


Table of Contents
The best false eyelashes for beginners are glue-free, pre-bonded press-on clusters, lightweight, forgiving, and quick to apply. No fiddly glue, no waiting for it to get tacky, no one big strip to line up perfectly.
If you've been scared off by messy glue or lashes that ping off at the corner, this is your easy in. Clusters go on under your own lashes in small, beginner-proof sections, so a wobble here or there won't ruin the look.
Here's exactly what to look for in your first pair, the easiest styles to start with, and the rookie mistakes to skip.
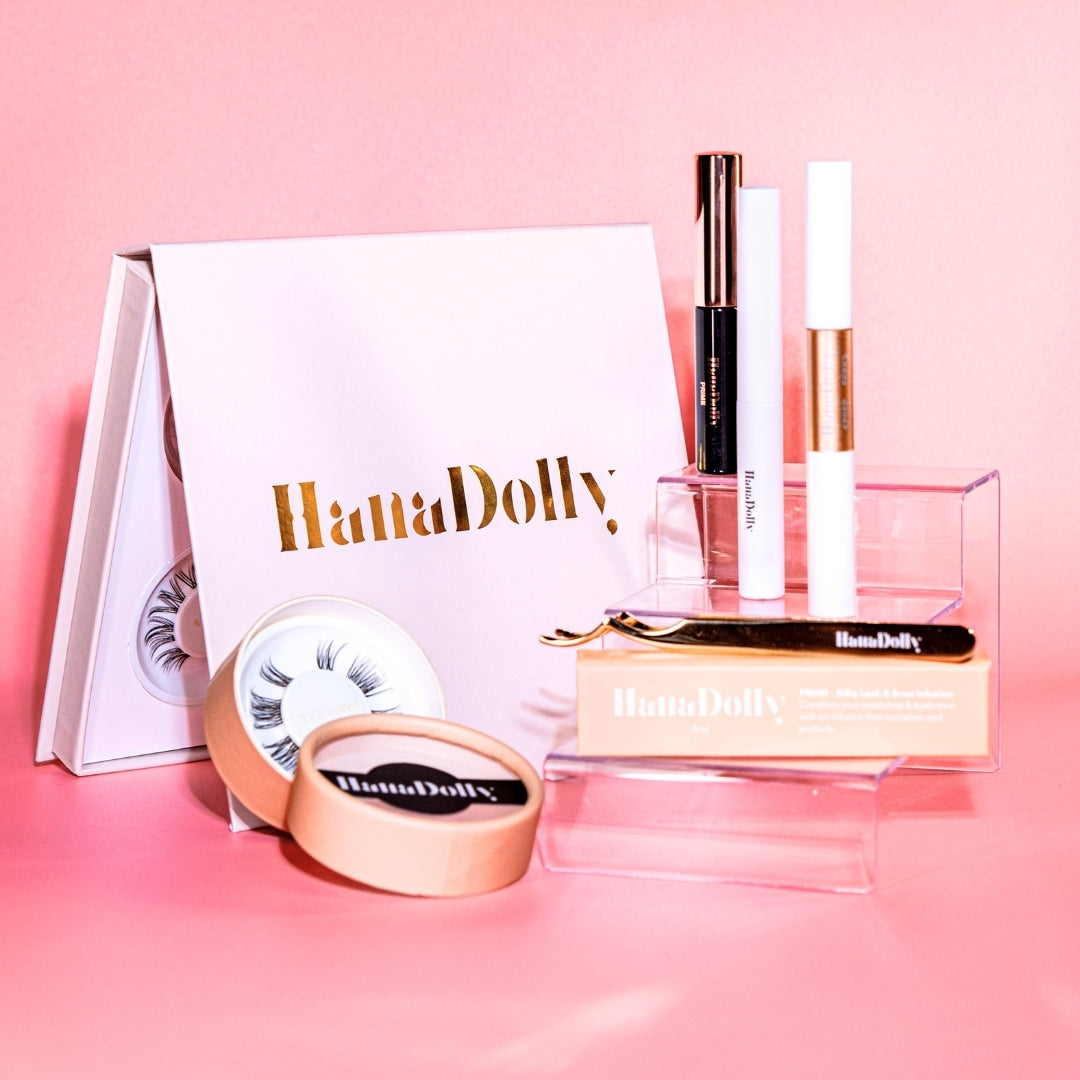
💡 Want the shortcut? The NIMBLE Lash Basics Kit is built for first-timers, everything you need to start, nothing you don't.
What Makes a Lash "Beginner-Friendly"?
Look for these four things, babe:
- Glue-free (pre-bonded). No glue to apply, dry, or smudge. This is the single biggest difference between "easy" and "ugh."
- Lightweight + flexible band. Comfier, and far more forgiving to place than a stiff strip.
- Clusters, not one big strip. Small sections are easier to position and easier to fix.
- Natural length to start. Begin soft and wispy, you can always go bolder once you've got the hang of it.
Glue-On vs Glue-Free for First-Timers
Glue-on strip lashes are cheap, but they're the hardest place to start: you're managing wet glue, timing, and lining up a full strip, all at once. Most "I can't do lashes" stories start here.
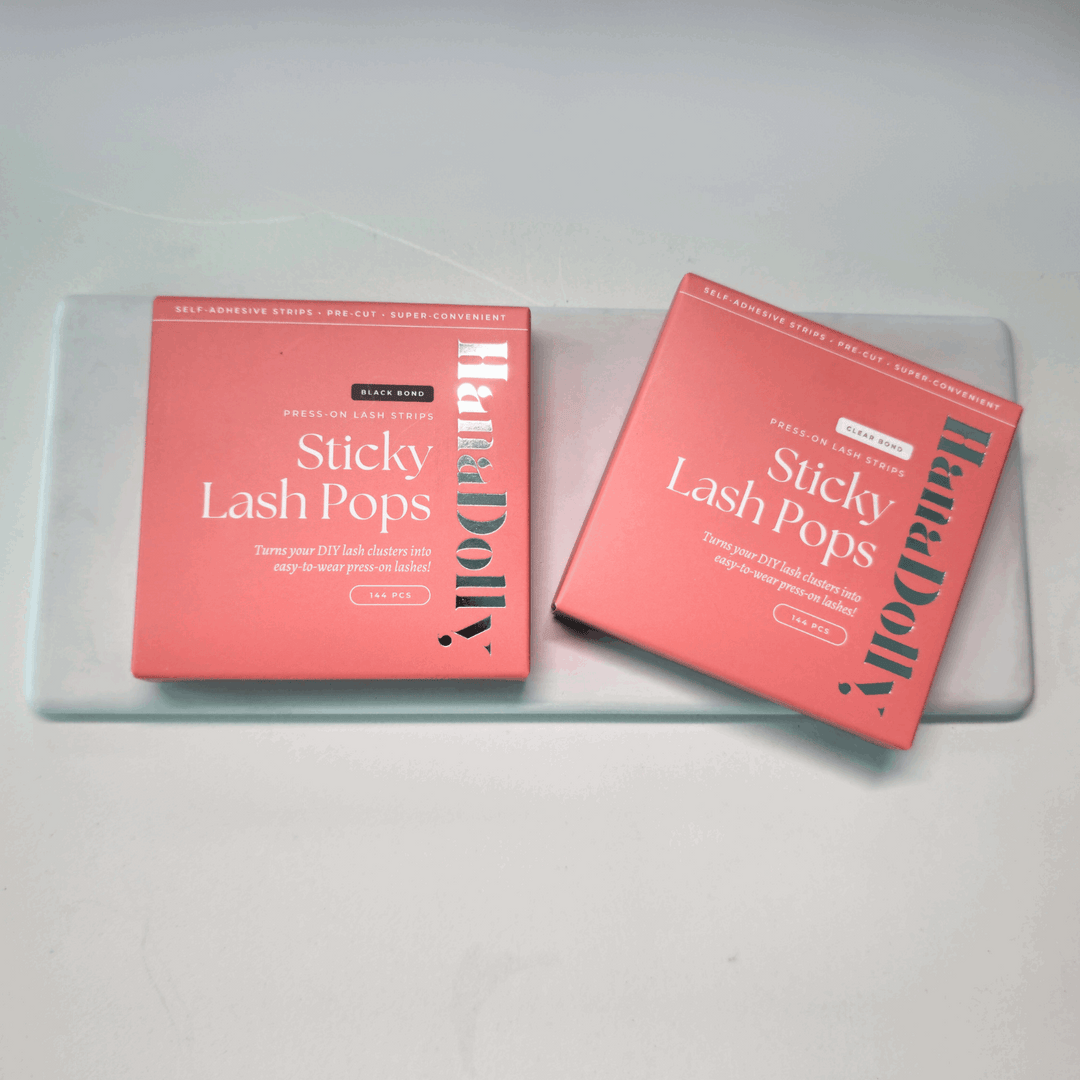
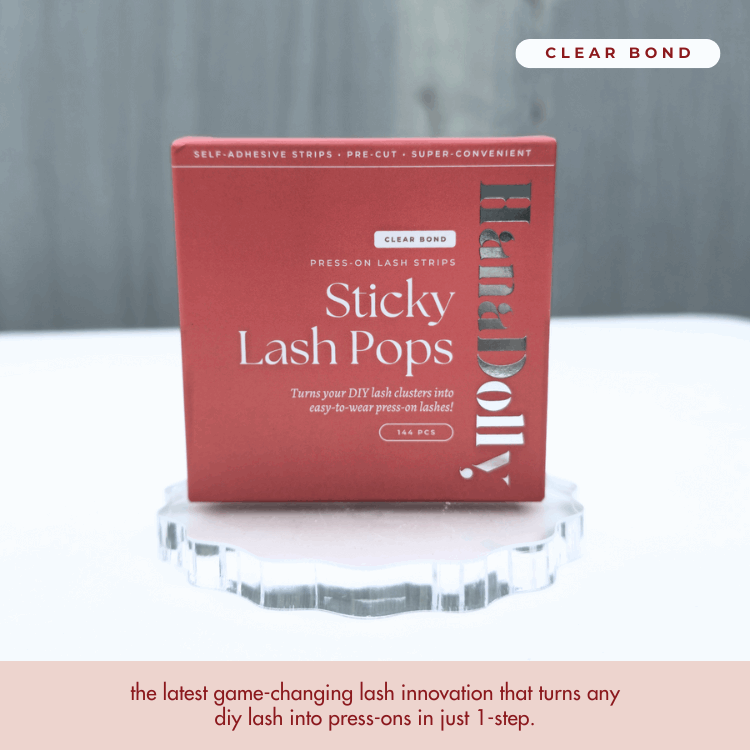
Glue-free pre-bonded clusters skip the hardest part entirely. You press them on, gently squeeze, done. For a beginner, it's the difference between a 20-minute battle and a 5-minute win.
The Easiest Styles to Start With
Begin natural, then build confidence:
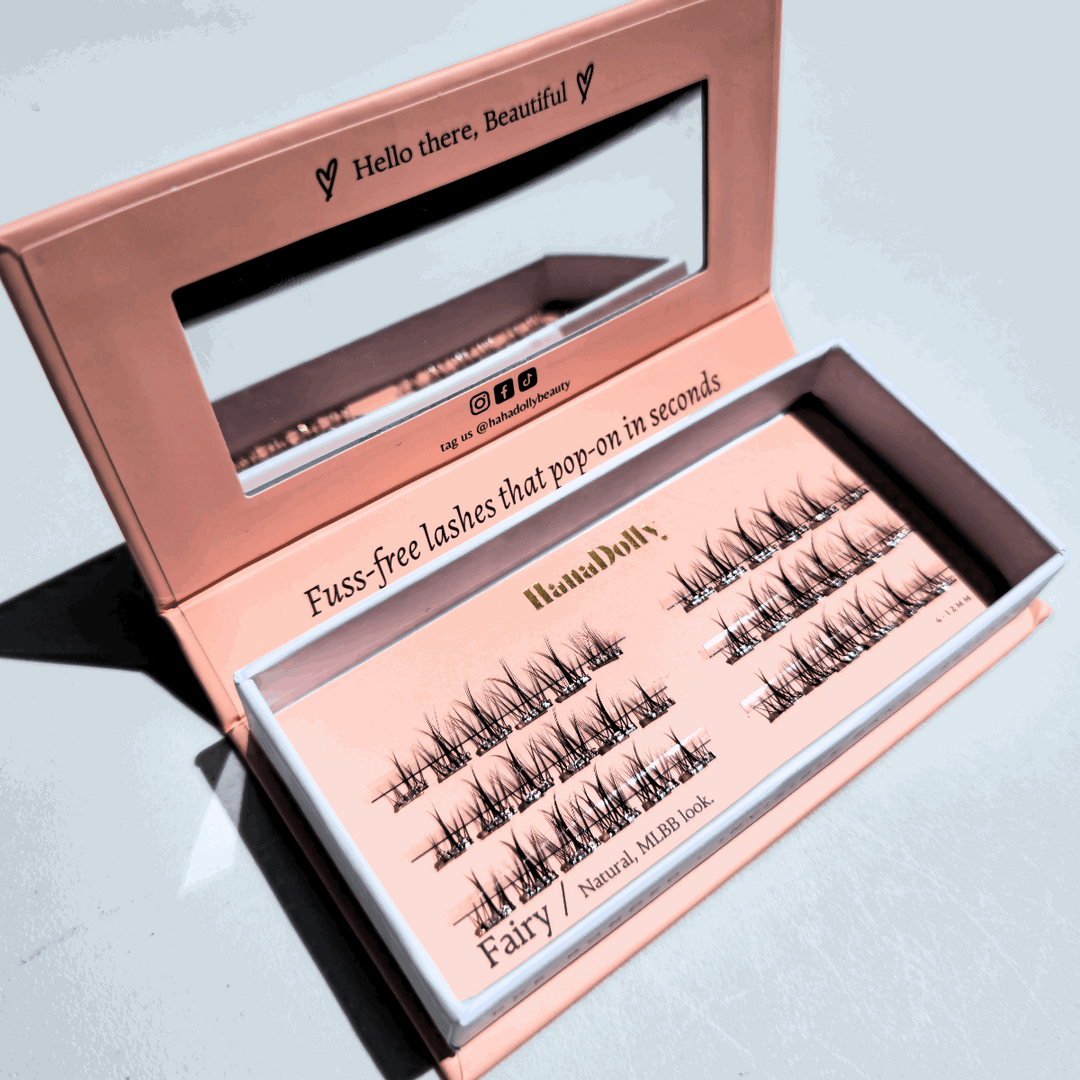
- FAIRY : soft, wispy, the most forgiving "your lashes but better" look.
- WISPY : light criss-cross texture, still very natural.
- SOULMATE : a touch more definition once you're comfortable.
5 Beginner Mistakes to Avoid
- Starting with dramatic lashes. Bold styles are less forgiving. Start natural.
- Placing on the skin, not under the lashes. Clusters go under your natural lash line, not on the lid.
- Touching the bonded part. Handle the tip, not the sticky base.
- Rushing the first try. Your first application takes a few goes. By pair three you'll be at 5 minutes.
- Skipping aftercare. Gentle removal and a quick clean = reuse them up to 15 times.
Your First-Pair Shopping List
To set yourself up properly:
- A natural glue-free cluster set (FAIRY or WISPY)
- An applicator or tweezer for easy placement
- A gentle cleanser for reuse
The easiest way to get all of it in one go is the NIMBLE Lash Basics Kit, the beginner starting point, designed so your first try actually works. ✨
New to all of this? Our guide to applying press-on lashes walks you through it step by step, and what press-on lashes are covers the basics.
FAQ
What are the best false eyelashes for beginners? Glue-free, pre-bonded press-on clusters in a natural style. They skip the messy glue, go on in small forgiving sections, and apply in minutes, ideal for a first-timer.
Are press-on lashes good for first-timers? Yes. Pre-bonded press-on clusters are the most beginner-friendly false lashes because there's no glue to manage and no single strip to line up perfectly. They're quick, comfy, and easy to fix.
Should beginners use glue-on or glue-free lashes? Glue-free. Glue-on strips are the hardest place to start because you're juggling wet glue and timing. Glue-free pre-bonded clusters remove that whole step.
How do I choose my first pair of false lashes? Pick glue-free clusters with a lightweight band and a natural length. Starting soft and wispy is far more forgiving than going bold, and you can build up from there.
What's the easiest false lash to apply? Pre-bonded clusters applied under your natural lash line. They need no glue and no precise strip placement, so they're the easiest type for beginners to get right.
How long do press-on lashes take to apply for a beginner? Your first try might take 15 to 20 minutes, but most people are down to about 5 minutes by their third application. It clicks quickly.