


Table of Contents
Here's how to apply press-on lashes in five steps: start with clean, dry lashes, curl them, pick up a cluster by the tip, place it just under your natural lash line, then gently squeeze to lock it in. No glue needed with pre-bonded clusters.
That's the whole thing. Your first try might take 15 minutes, but by your third you'll be done in about five.
Below is the full step-by-step, the one waterline trick that makes it click, how to remove them safely, and what to do if your corners keep lifting.
💡 New to this? The NIMBLE Lash Basics Kit has the clusters and tools to make your first go easy.
What You'll Need
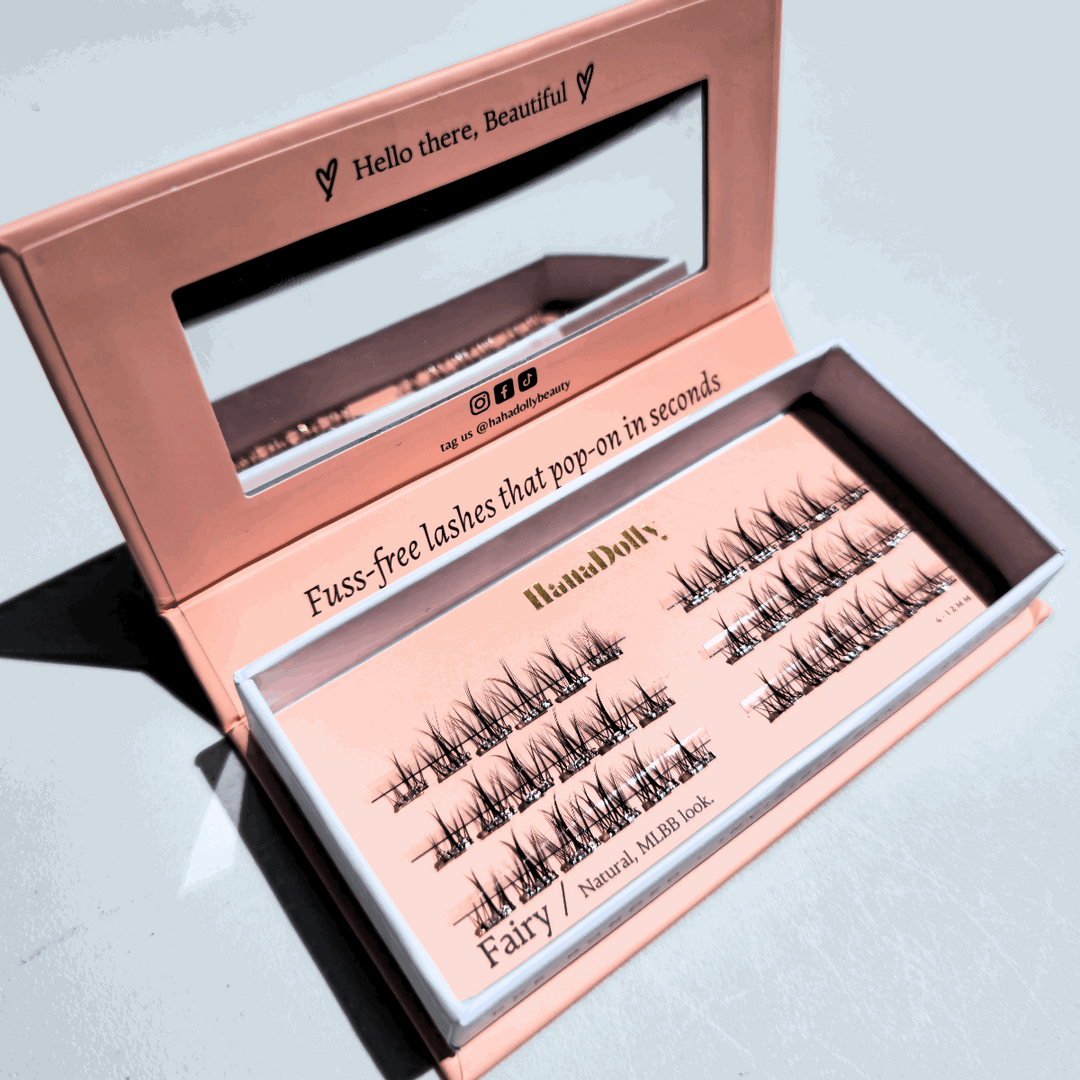
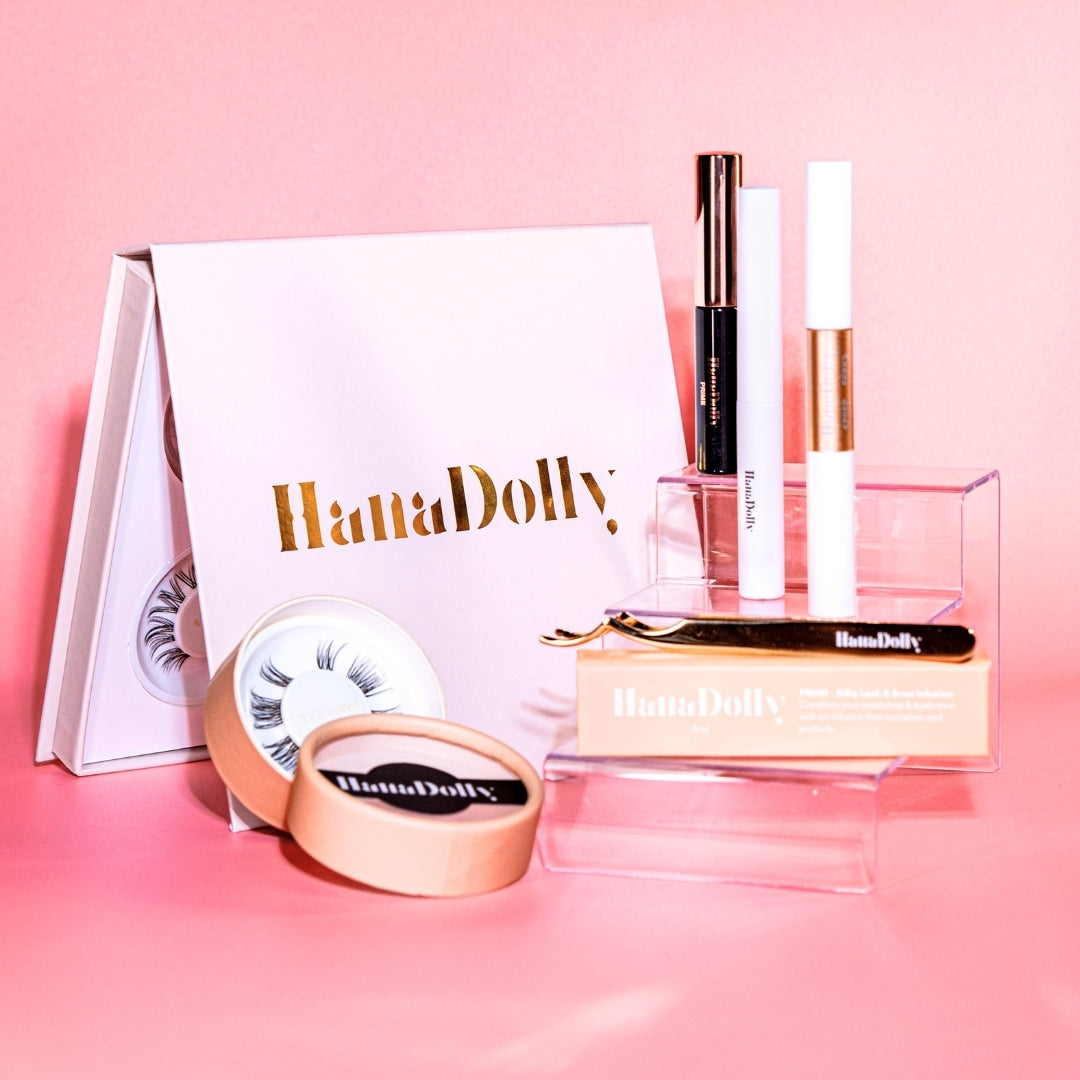
- A set of pre-bonded (glue-free) lash clusters, like NIMBLE
- A lash applicator or fine tweezer
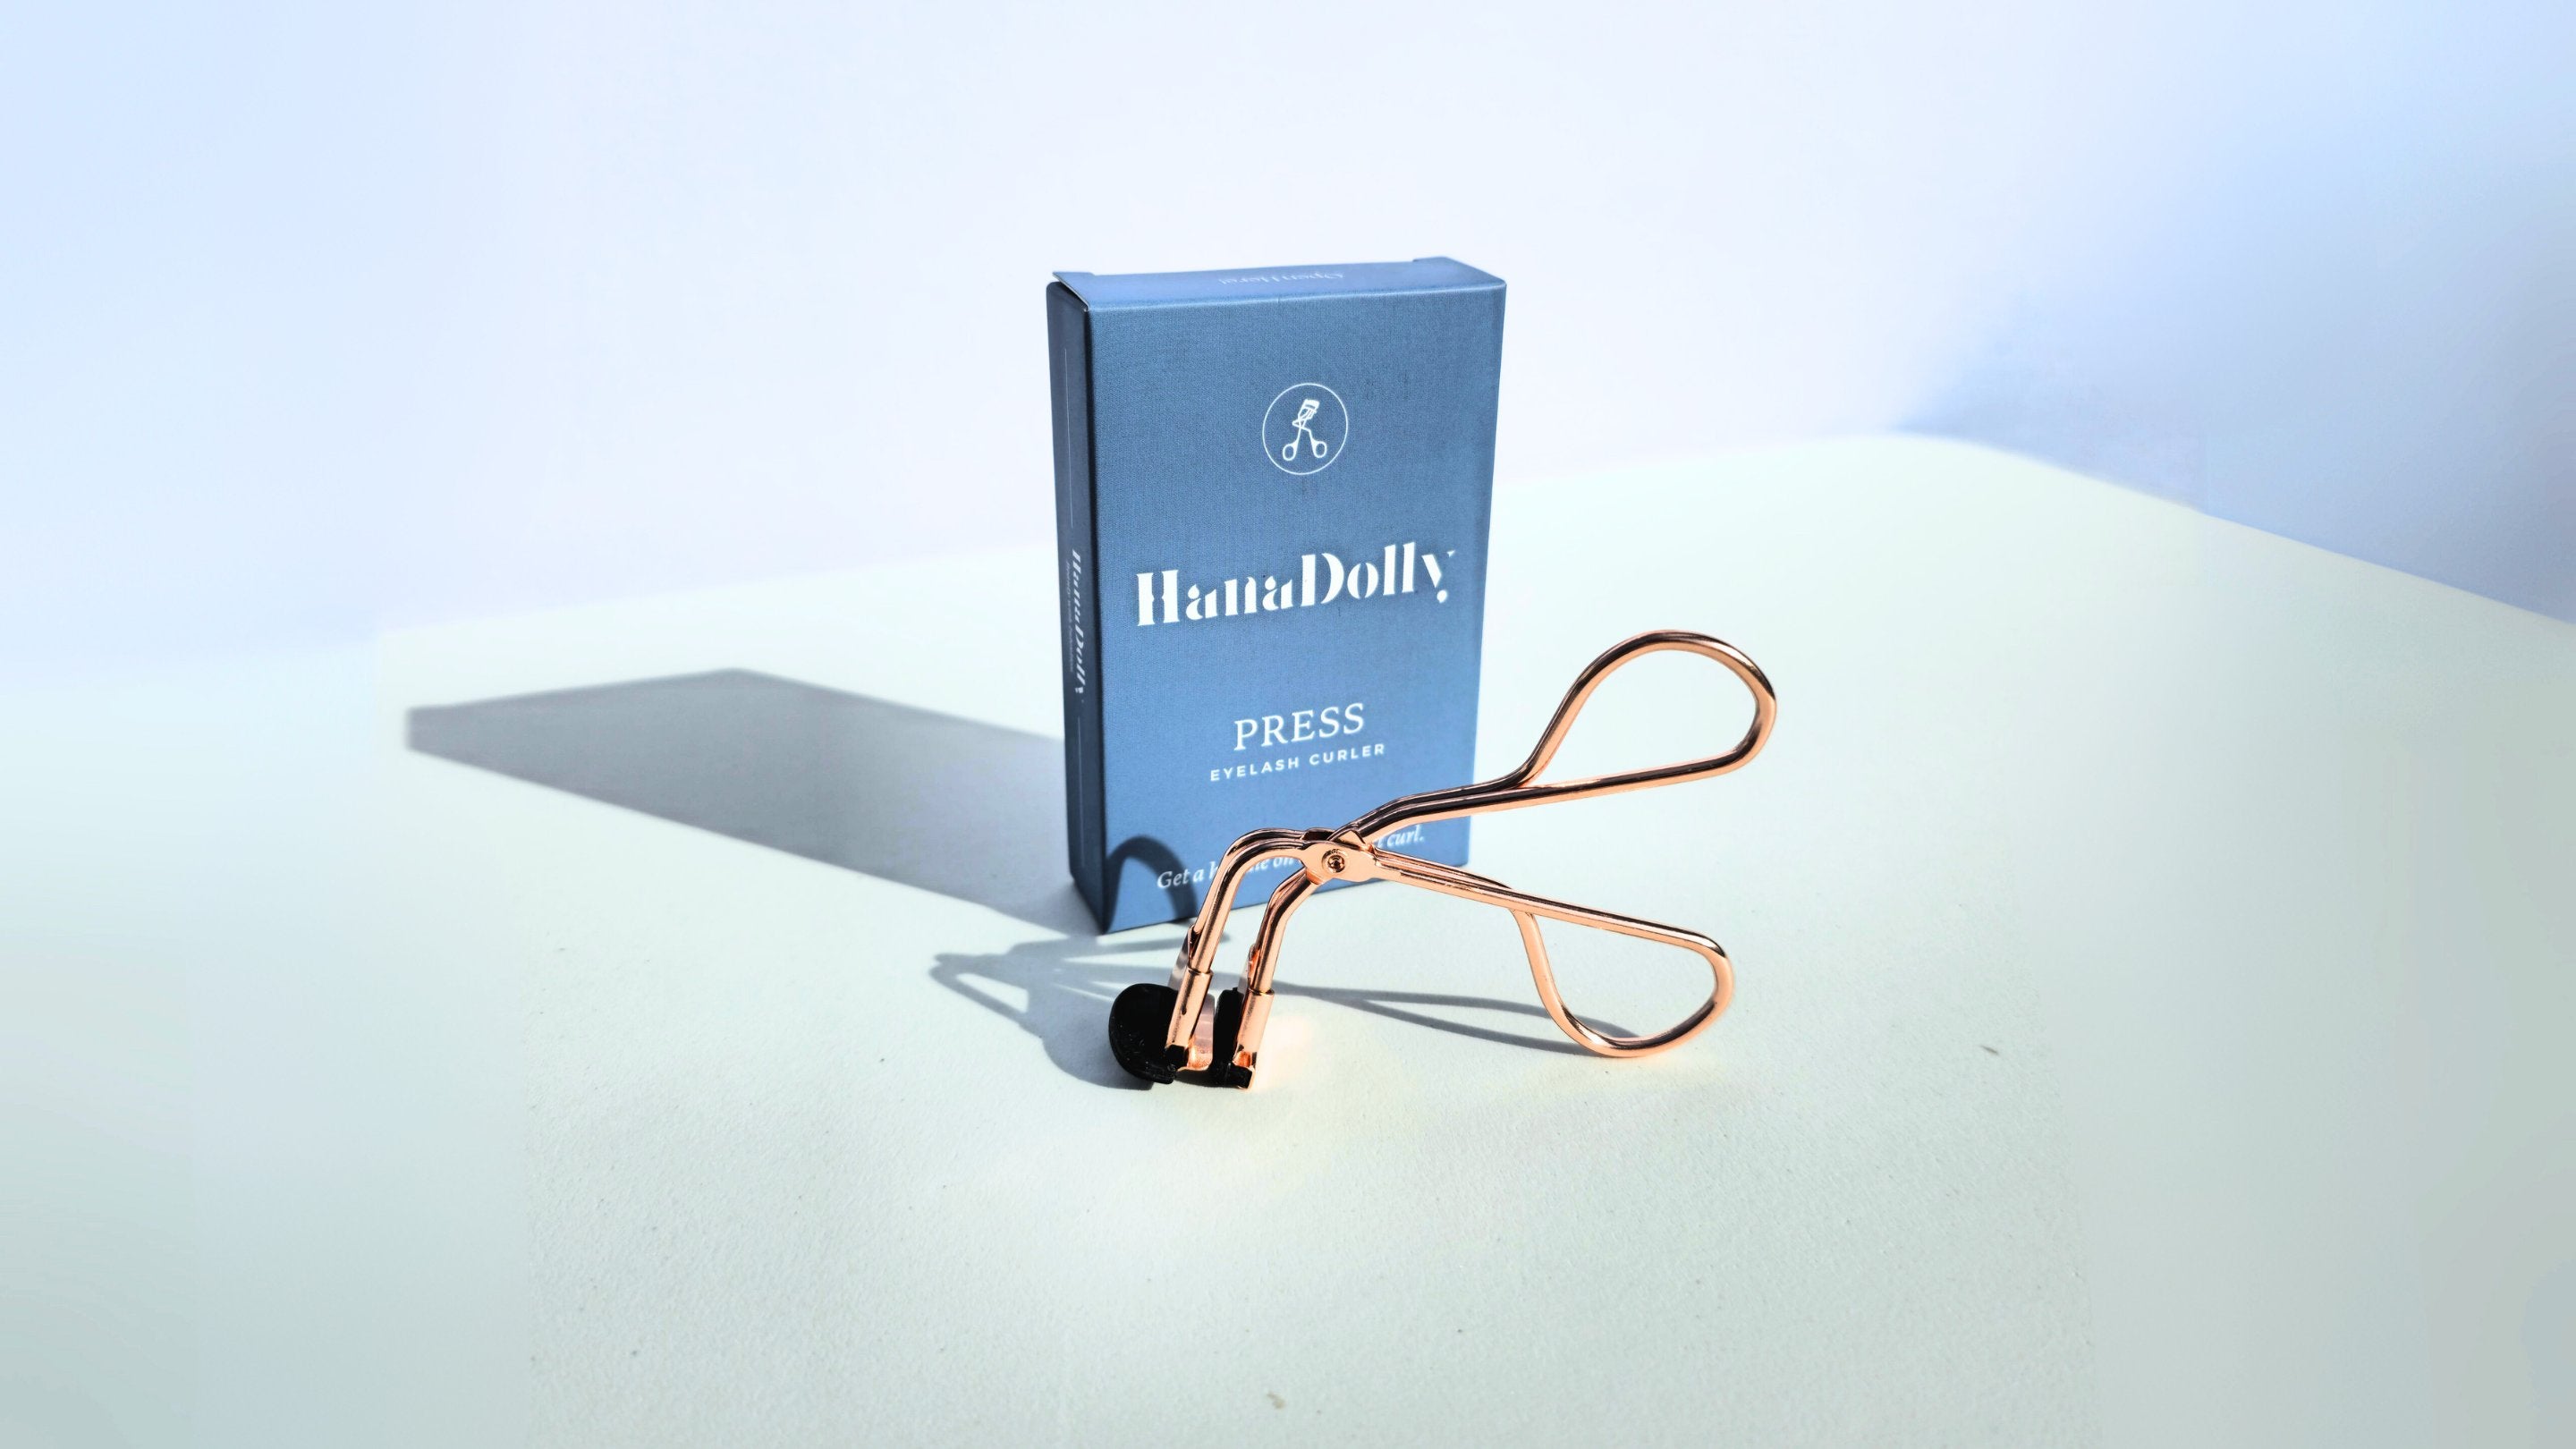
- An eyelash curler
- A mirror and good light
How to Apply Press-On Lashes, Step by Step
- Prep your lashes. Start clean and dry, no oils or mascara on the lash line. Oils stop pre-bonded clusters gripping.
- Curl your natural lashes. This helps the clusters blend and sit seamlessly.
- Pick up a cluster by the tip. Use your applicator or fingers. Don't touch the bonded base, that's what grips.
- Place it under your natural lash line. Look down into a mirror and set the cluster just beneath your own lashes, not on the waterline.
- Squeeze gently to seal. Press the cluster and your natural lashes together for a second or two. Work outer corners to inner, adding clusters until you love the fullness.
The Waterline Trick
The single biggest beginner fix: look down into a magnifying mirror as you place each cluster. It exposes the underside of your lash line so you can tuck the cluster just under your natural lashes, never on the sensitive waterline. Comfier, and far more natural-looking.
How to Remove Press-On Lashes
Never pull. Gently ease each cluster off from the base with clean fingers or your tool. Because there's no glue, they lift away easily. Then clean them and store flat, NIMBLE clusters reuse up to 15 times. ✨
Troubleshooting: Why Do My Corners Keep Lifting?
- Oily lid or leftover product? Cleanse and dry the lash line first.
- Placed too far out? Keep clusters slightly in from the very corner.
- Not sealed? Re-squeeze the cluster with your natural lashes.
- Humidity (hello, Singapore)? Make sure lashes are fully dry before applying.
Still finding your feet? Our guide to the best press-on lashes for beginners helps you pick an easy first pair.
FAQ
How do you apply press-on lashes? Start with clean, dry, curled lashes. Pick up a cluster by the tip, place it just under your natural lash line (not the waterline), and gently squeeze to seal. Work from the outer corner inward, adding clusters until you like the fullness.
How do you apply press-on lashes without glue? Pre-bonded clusters have a self-gripping base, so no glue is needed. Just press them onto clean, dry, oil-free natural lashes and squeeze gently. Oils or mascara stop them gripping, so prep matters.
Where do you place press-on lash clusters? Just under your natural lash line, never on the waterline. Looking down into a mirror exposes the underside of your lashes so you can tuck each cluster neatly underneath.
How long do press-on lashes take to apply? Your first attempt might take around 15 minutes, but most people get down to about 5 minutes by the third try. It becomes quick once you've done it a couple of times.
How do you remove press-on lashes? Gently ease each cluster off from its base with clean fingers or a tool, never pull. With no glue bond they lift off easily. Clean them and store flat to reuse.
Why do my press-on lashes keep lifting at the corners? Usually oily or damp lashes, placement too far into the corner, or an unsealed cluster. Cleanse and fully dry your lash line, keep clusters slightly in from the corner, and re-squeeze to seal.