When it comes to the mastery of DIY eyelash extensions, most people are fixated on nailing the application part down that they forget about how important lash aftercare truly is. The truth is that achieving stunning, long-lasting DIY eyelash extensions is easier than ever when you commit to proper maintenance.
In this guide, we'll be exploring the best practices for DIY eyelash extensions like avoiding water exposure during the first 48 hours, adopting a consistent cleaning regimen, and utilizing high-quality products to enhance both longevity and safety.
Why Is Cleaning Your Eyelash Extensions So Important?
Properly cleaning your lash extensions is not just about maintaining their beautiful appearance - it plays a vital role in ensuring their longevity and safeguarding your eye health. Without regular care, lash extensions can harbor dirt, oils, and bacteria, setting the stage for irritation, infections, and even premature loss of the extensions.
- Impact on Eye Health: The buildup of residual makeup, dirt, and oils on your lash line can create a favorable breeding ground for bacteria. This not only puts you at risk for conditions like blepharitis (a painful eyelid inflammation) but can also lead to styes and other eye infections. A comprehensive study by the National Center for Biotechnology Information (NCBI) underscores the importance of maintaining proper eye hygiene to reduce such risks. Cleaning your lashes daily ensures your eyes stay healthy and irritation-free.
- Prolonging Lash Lifespan: Proper lash care aids in preserving the adhesive bond that holds your extensions in place. When dirt and oils accumulate, they weaken the glue, causing premature shedding of both the extensions and potentially your natural lashes. Regular cleaning keeps both extensions and natural lashes strong and healthy, ensuring you get the most out of your investment in beauty.
The Essential Guide to Cleaning DIY Eyelash Extensions
Initial Aftercare is Crucial
The first 48 hours after applying DIY eyelash extensions are critical to ensuring that the adhesive sets properly. This curing period requires extra caution to maximize durability and achieve a natural, professional look. Adhering to these key tips guarantees the bond remains strong for weeks to come:
- Shield your lashes from water and steam: Steer clear of swimming, saunas, and hot showers to protect the curing adhesive. Even prolonged exposure to facial humidity can disrupt the bonding process.
- Avoid oil-based products or heavy makeup: Oils interfere with the adhesive, weakening its hold. Avoid applying eyeliner, eye creams, or cleansers with oils near your lash line until after the initial curing phase.
- Refrain from touching or rubbing: Resist the urge to adjust or play with your lashes during the critical setting period, as friction can cause premature lifting and shedding.
Daily Cleaning to Maintain Freshness
Without proper cleaning, dirt, makeup, and natural oils can accumulate, causing irritation, reducing lash longevity, and compromising the adhesive bond. Here’s how to develop an effective lash cleaning regimen:
- Select a Gentle, Oil-Free Cleanser: Opt for a lash-specific cleanser or a mild, oil-free foaming shampoo to clean extensions without breaking down the adhesive. For example, the HanaDolly Collagen Lash Foam Cleanser is specifically formulated to keep extensions clean and secure while promoting lash health.
- Gather the Right Tools: Use a microfiber brush, soft spoolie brush, or other lint-free applicators to clean extensions effectively. Avoid cotton pads, as they can leave fibers trapped between lashes, causing discomfort.
- Apply and Clean with Delicate Motions: With your cleanser diluted as needed, gently work it into your lash line using upward and outward strokes. Move delicately to avoid pulling or twisting the lashes.
- Rinse Thoroughly but Gently: Use lukewarm water to rinse off the cleanser. Instead of splashing water directly over your face, wet a clean washcloth and gently dab your lashes.
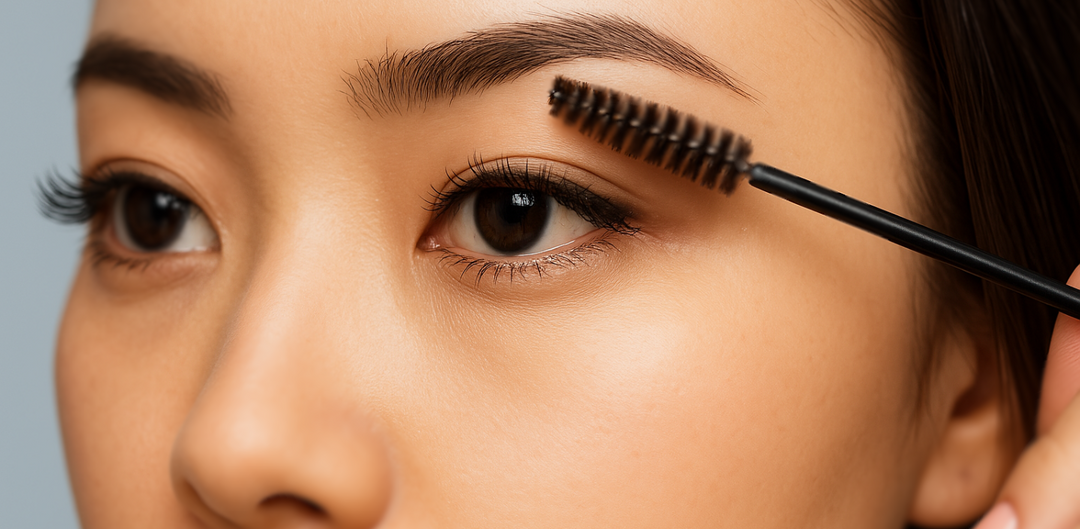
- Dry and Fluff Your Lashes After Cleaning: Pat the lashes softly with a microfiber towel or let them air dry naturally. Once dry, use a clean spoolie brush to separate and smooth out the lashes, ensuring a polished, feathery appearance.
Frequency: For optimal results, clean your lashes every 2-3 days or daily if you wear eye makeup regularly. This routine enhances lash durability and preserves their pristine look.
Safe and Gentle Removal Techniques
When it comes time to remove your DIY lash extensions, keeping to a safe lash removal process is just as important as proper application to avoid damaging your natural lashes or causing irritation. Here are some tips when removing your DIY eyelash extensions:
-
Steam Your Face to Loosen Adhesive
Sit over a bowl of hot water with a towel draped over your head for 5-10 minutes. The steam will soften the adhesive, making removal easier and less abrasive. -
Massage with an Oil-Based Cleanser
After steaming, apply a few drops of coconut or olive oil to your lash line. This helps break down the adhesive. -
Remove Lashes with Care
Using a microfiber cloth or a soft cotton pad, gently swipe downward to lift the extensions away from your natural lashes. Be patient—rushing the process can harm your natural lashes. -
Wash and Nourish Your Natural Lashes
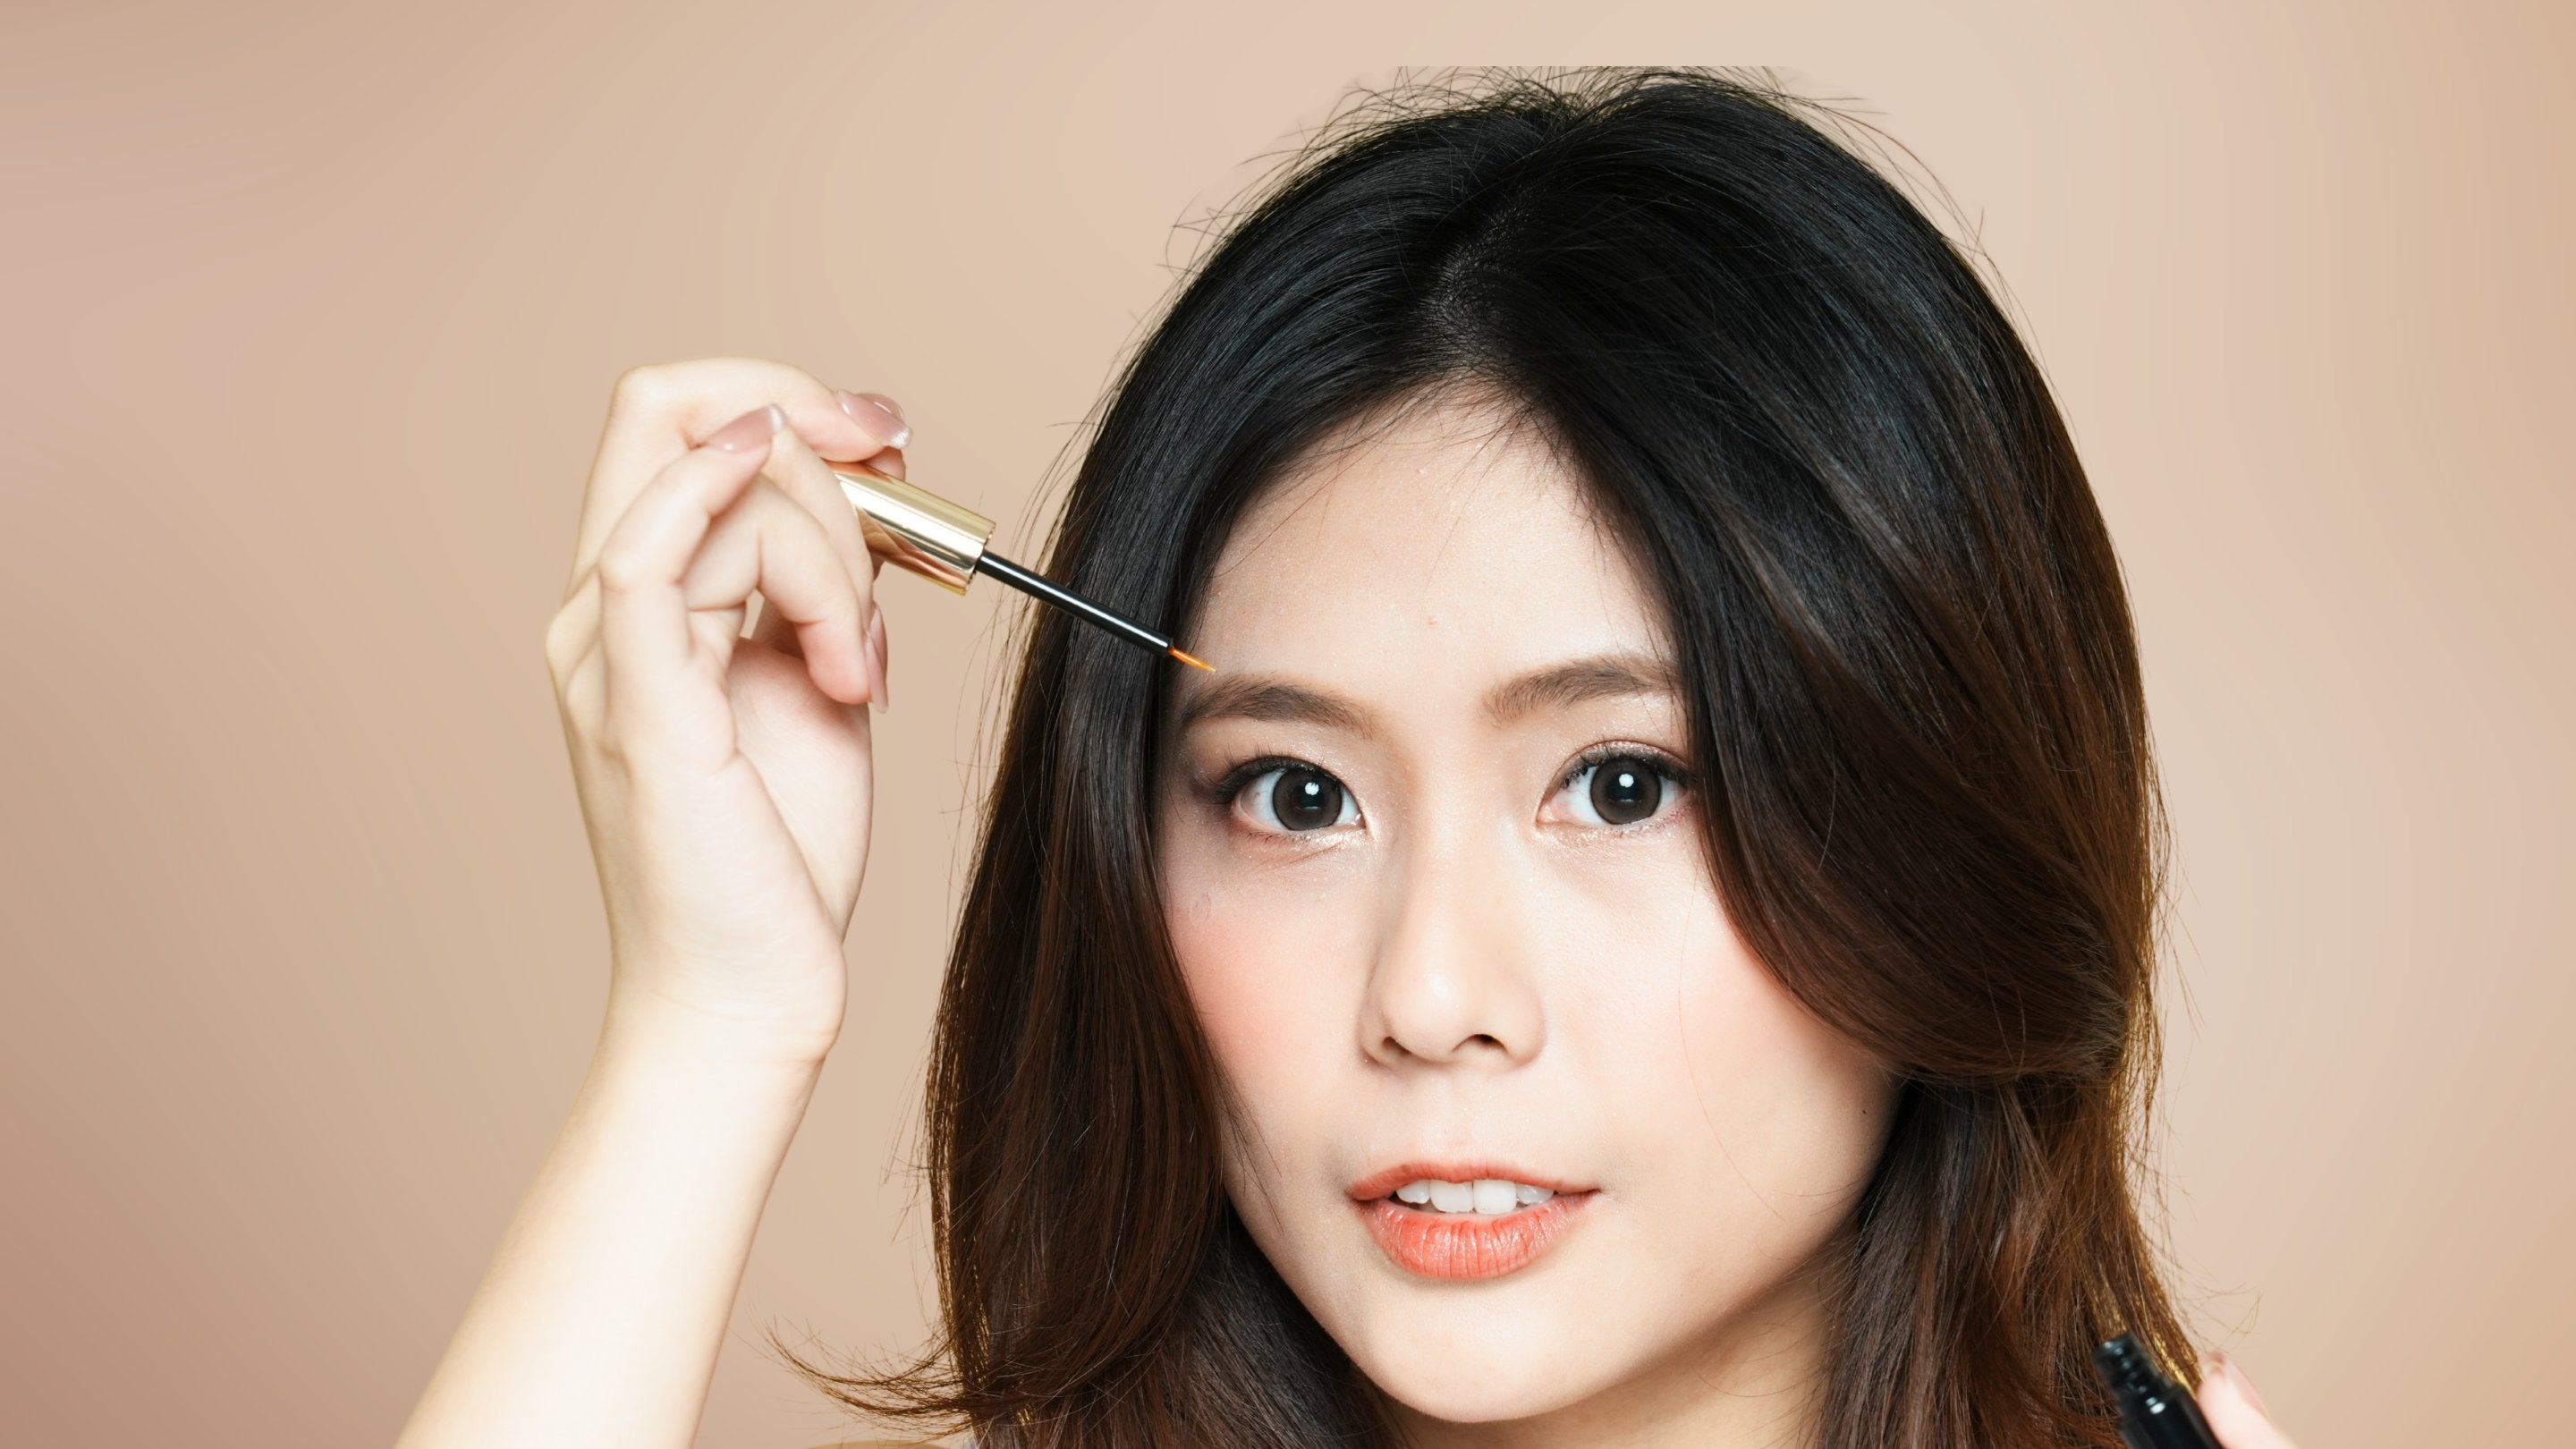
Once the extensions are removed, cleanse your natural lashes thoroughly to remove any adhesive residue. Follow up with a conditioning serum like HanaDolly PRIME Lash Serum, which revitalizes lashes and promotes regrowth.
Avoiding Common Lash Care Pitfalls
To get the most out of your DIY eyelash extensions, be mindful of common mistakes that can compromise their integrity:
- Over-washing: Excessive cleaning can weaken the adhesive bond. Stick to your recommended cleaning schedule for balanced maintenance.
- Tugging and pulling: Handle your lashes gently - constant tugging can lead to premature shedding and natural lash damage.
- Using harsh or oil-based products: Always check product ingredients to ensure compatibility with your extensions.
Achieving and maintaining gorgeous DIY eyelash extensions requires attention to detail, but the results are worth it. By focusing on careful aftercare, consistent cleaning routines, and gentle removal methods, you can extend the lifespan of your lashes while protecting your natural ones.


