


Deciding whether or not to dip your toes into the world of DIY lash extensions can be a daunting at first. If you've done salon extensions and seen your lash tech painstakingly do each strand at a time, you may be put off by the fear of complexity.
But don't worry! The truth is that DIY lash extensions are far less complicated than salon extensions because they're applied as lash clusters. As such, they actually take far less time and effort to put on.
Once you get the hang of it, these false lash clusters could end up saving you much more time, money and freedom!
Instead of hour long sessions and over $100+ a pop, say hello to easy, fuss-free lashes that give you gorgeous, confidence-bursting lashes in just minutes.
Are False Lashes Easy to Apply by Myself? What If I'm Not so Confident?
The number one question when it comes to DIY lash extensions (or falsies) is: How hard is it to apply? Do you think I really can apply lashes by myself?
If you're able to apply your own makeup, then you'll definitely be able to apply falsies! For too long, women have been over-reliant on lash salons because we lack the confidence to do it by ourselves for so many reasons - scared of unsteady hands, afraid of messing it up, fear of looking bad or lashes dropping too early halfway through... the list is endless.
But what if instead of leaning in to fear, we decided to make beauty intentional? The feeling of taking back your power and finally getting a grasp of your own beauty is so amazing, and believe me - you'll feel so liberated and in control once you've managed to nail your own lash extensions!~
Is There a Learning Curve for DIY Lash Extensions?
Sure, as with all good things there is a small learning curve to get the hang of it. But just like riding a bike, once you've mastered it - you'll feel so empowered and unstoppable!
In fact, most of our customers can apply their DIY lash extensions in 7 minutes once they get the hang of it!
We've got a specially curated comprehensive lash guide for all our customers that offers step-by-step instructions and even video tutorials!
We always tell our beloved customers: Remember that your DIY lash journey is not a one-time feat, but rather a routine of convenience that you can slowly ease into.
It may take a couple of tries but don't give up hope! You can watch our tutorial videos, or if you really need more help - just reach out to us. We're here to help ❤︎
In no time you'll be doing your own lashes like a pro and finally take back control of your beauty! Imagine all the time, money & stress saved.
Spoilt for Choice: What Are the Different Types of False Lashes?
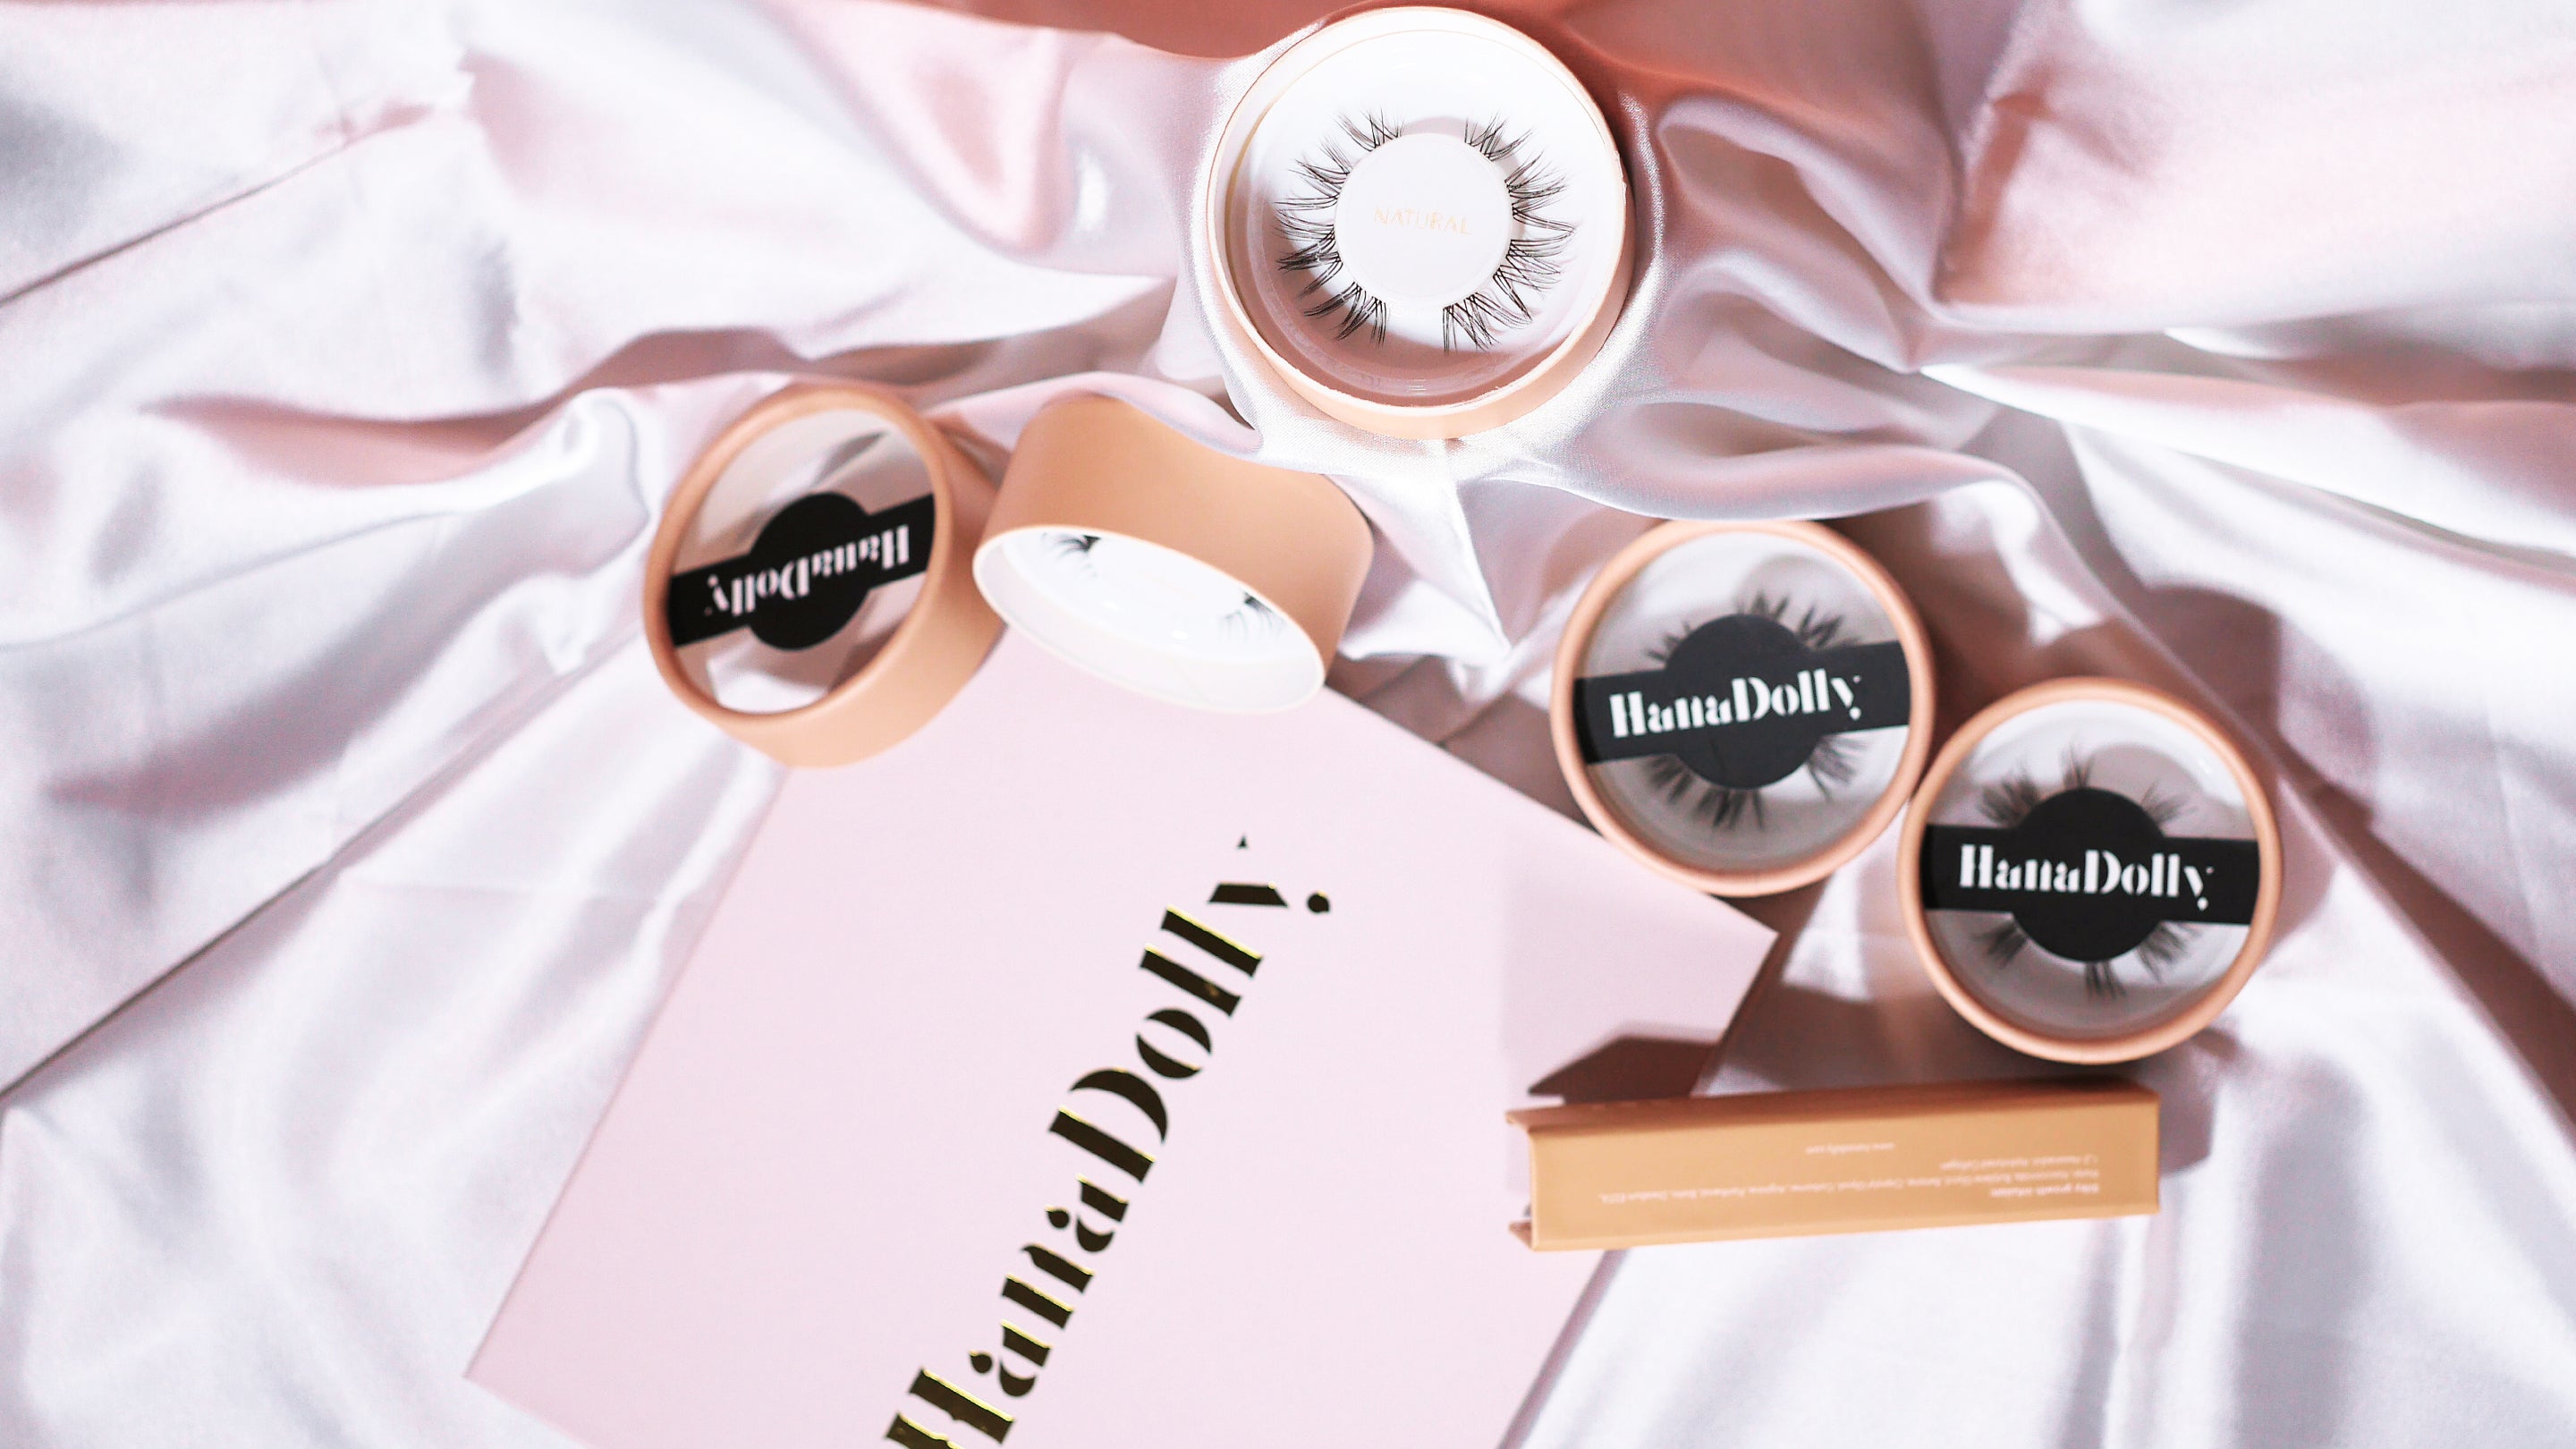
1. Traditional DIY lash extensions (Falsies)
The most common (and recommended) DIY lash extensions are lash clusters that are applied to your natural lash line using a lash adhesive bond. It's much less time-consuming than salon extensions because you don't have do each strand individually, but instead apply each cluster as you see fit.
They typically last up to 7 days and can be applied anywhere anytime you want, offering a lot more flexibility and convenience. They're meant to be applied under your natural lashes, close to your lash line.
You'll want to use lightweight lashes like those from HanaDolly's Agile Collection that don't strain your eyes with unnecessary weight.
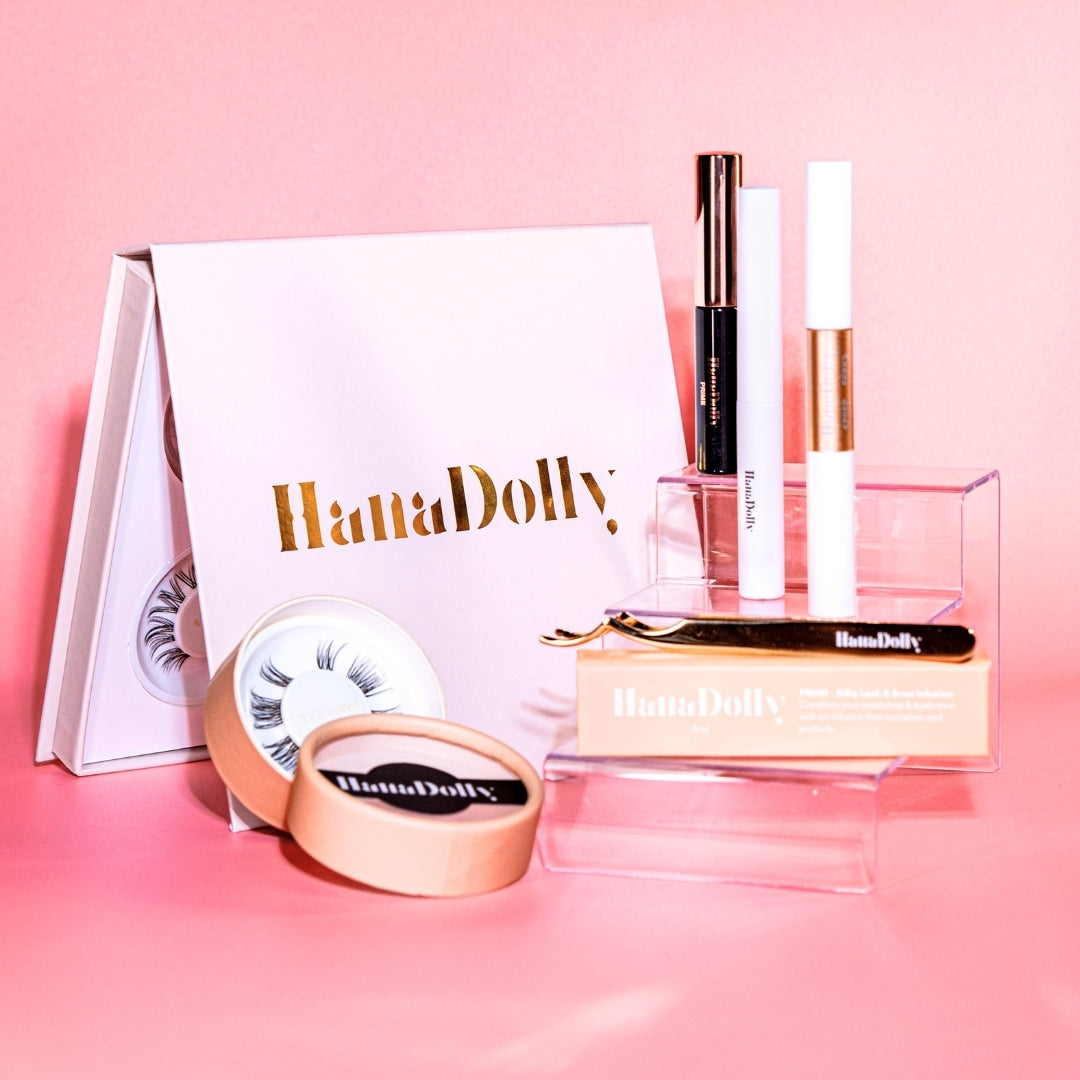
If you're to explore this option, you'll really want to start off with the 7min Lash Routine Starter Kit that contains everything you need to get started on your beautiful lash journey!

2. Self-Adhesive Lashes (Press-On Lashes)
Like those in HanaDolly's NIMBLE range, these lashes come already pre-bonded with glue - which means you don't have to apply it to the lashes by yourself.
It's the latest trend and the most convenient way to put on false lashes in the market right now. They're perfect for a quick fix when you're in a rush, and also great for beginners that are just starting out because of it's ease of use, allowing you to build up confidence in your lash application skills.

3. Magnetic Lashes
Another way of wearing false lashes is using magnetic lashes that make use of small magnets to keep your lashes in place. They're slowing losing popularity in the market for a variety of reasons.
Some brands use magnetic eyeliner that's applied to your lash line (in order to give your magnetic lashes something to adhere to), these have also been known to contain prostaglandin analogues or iron oxides that cause staining, lash shedding & bald spots.
Magnets on lash extensions also tend to weigh down your natural lashes and prolonged use can cause lash loss at times. Compared to other alternatives like NIMBLE and AGILE lash collections which are made with hollow-fiber technology to create ultra-lightweight lashes, the difference can be almost night & day!
------------
Personally, I prefer wearing the DIY lash extensions because they feel lighter (thinner lash bond compared to a slightly thicker pre-bonded glue on press-on lashes) and they just feel like a more natural fit. Ultimately a combination of both DIY falsies & press-ons work really well together because it's so versatile and you can switch whenever you need it!

What's the Best Way to I Start With DIY Lash Extensions?
- First timers - If you're just starting out, I recommend trying out the NIMBLE collection, press-on lash range, just so you get familiar with applying your lashes by yourself with ease first. They are so easy to apply and really boosts your confidence once you get the hang of it.
- More advanced users - once you're a little more comfortable with applying your own lashes, that's when you can get a little more advanced with DIY lash extensions and get your very own 7min lash routine starter kit! It contains everything you need to do your own lashes like a pro, and not to mention a powerful lash serum that also grows your natural lashes WHILST you're wearing falsies (don't neglect your natural lashes!).
- For "Lazy Women" who just want quick lashes every time - Our latest innovative product: the lash adhesive strips are here to save the day! They're basically pre-bonded lash strips (similar to press-on lashes). However they haven't been fixed onto any lash yet - so you can turn any DIY lash into instant press-ons with ease!
- For Salon-users who need to fill in gaps - one of the struggles of salon lashes is when parts of your lash extensions fall off pre-maturely leaving empty spots in your lash. This is when you can use our DIY lash extensions to fill in those gaps seamlessly, say goodbye to those pesky blind spots.
-
Even more advanced users - okay, so you're a pro now. We've heard of customers combining different lash styles (different clusters) to create their very own unique designs! There are even some who use both press-ons and our DIY range at the same time - we're so amazed by your creativity sometimes!


Leave a comment