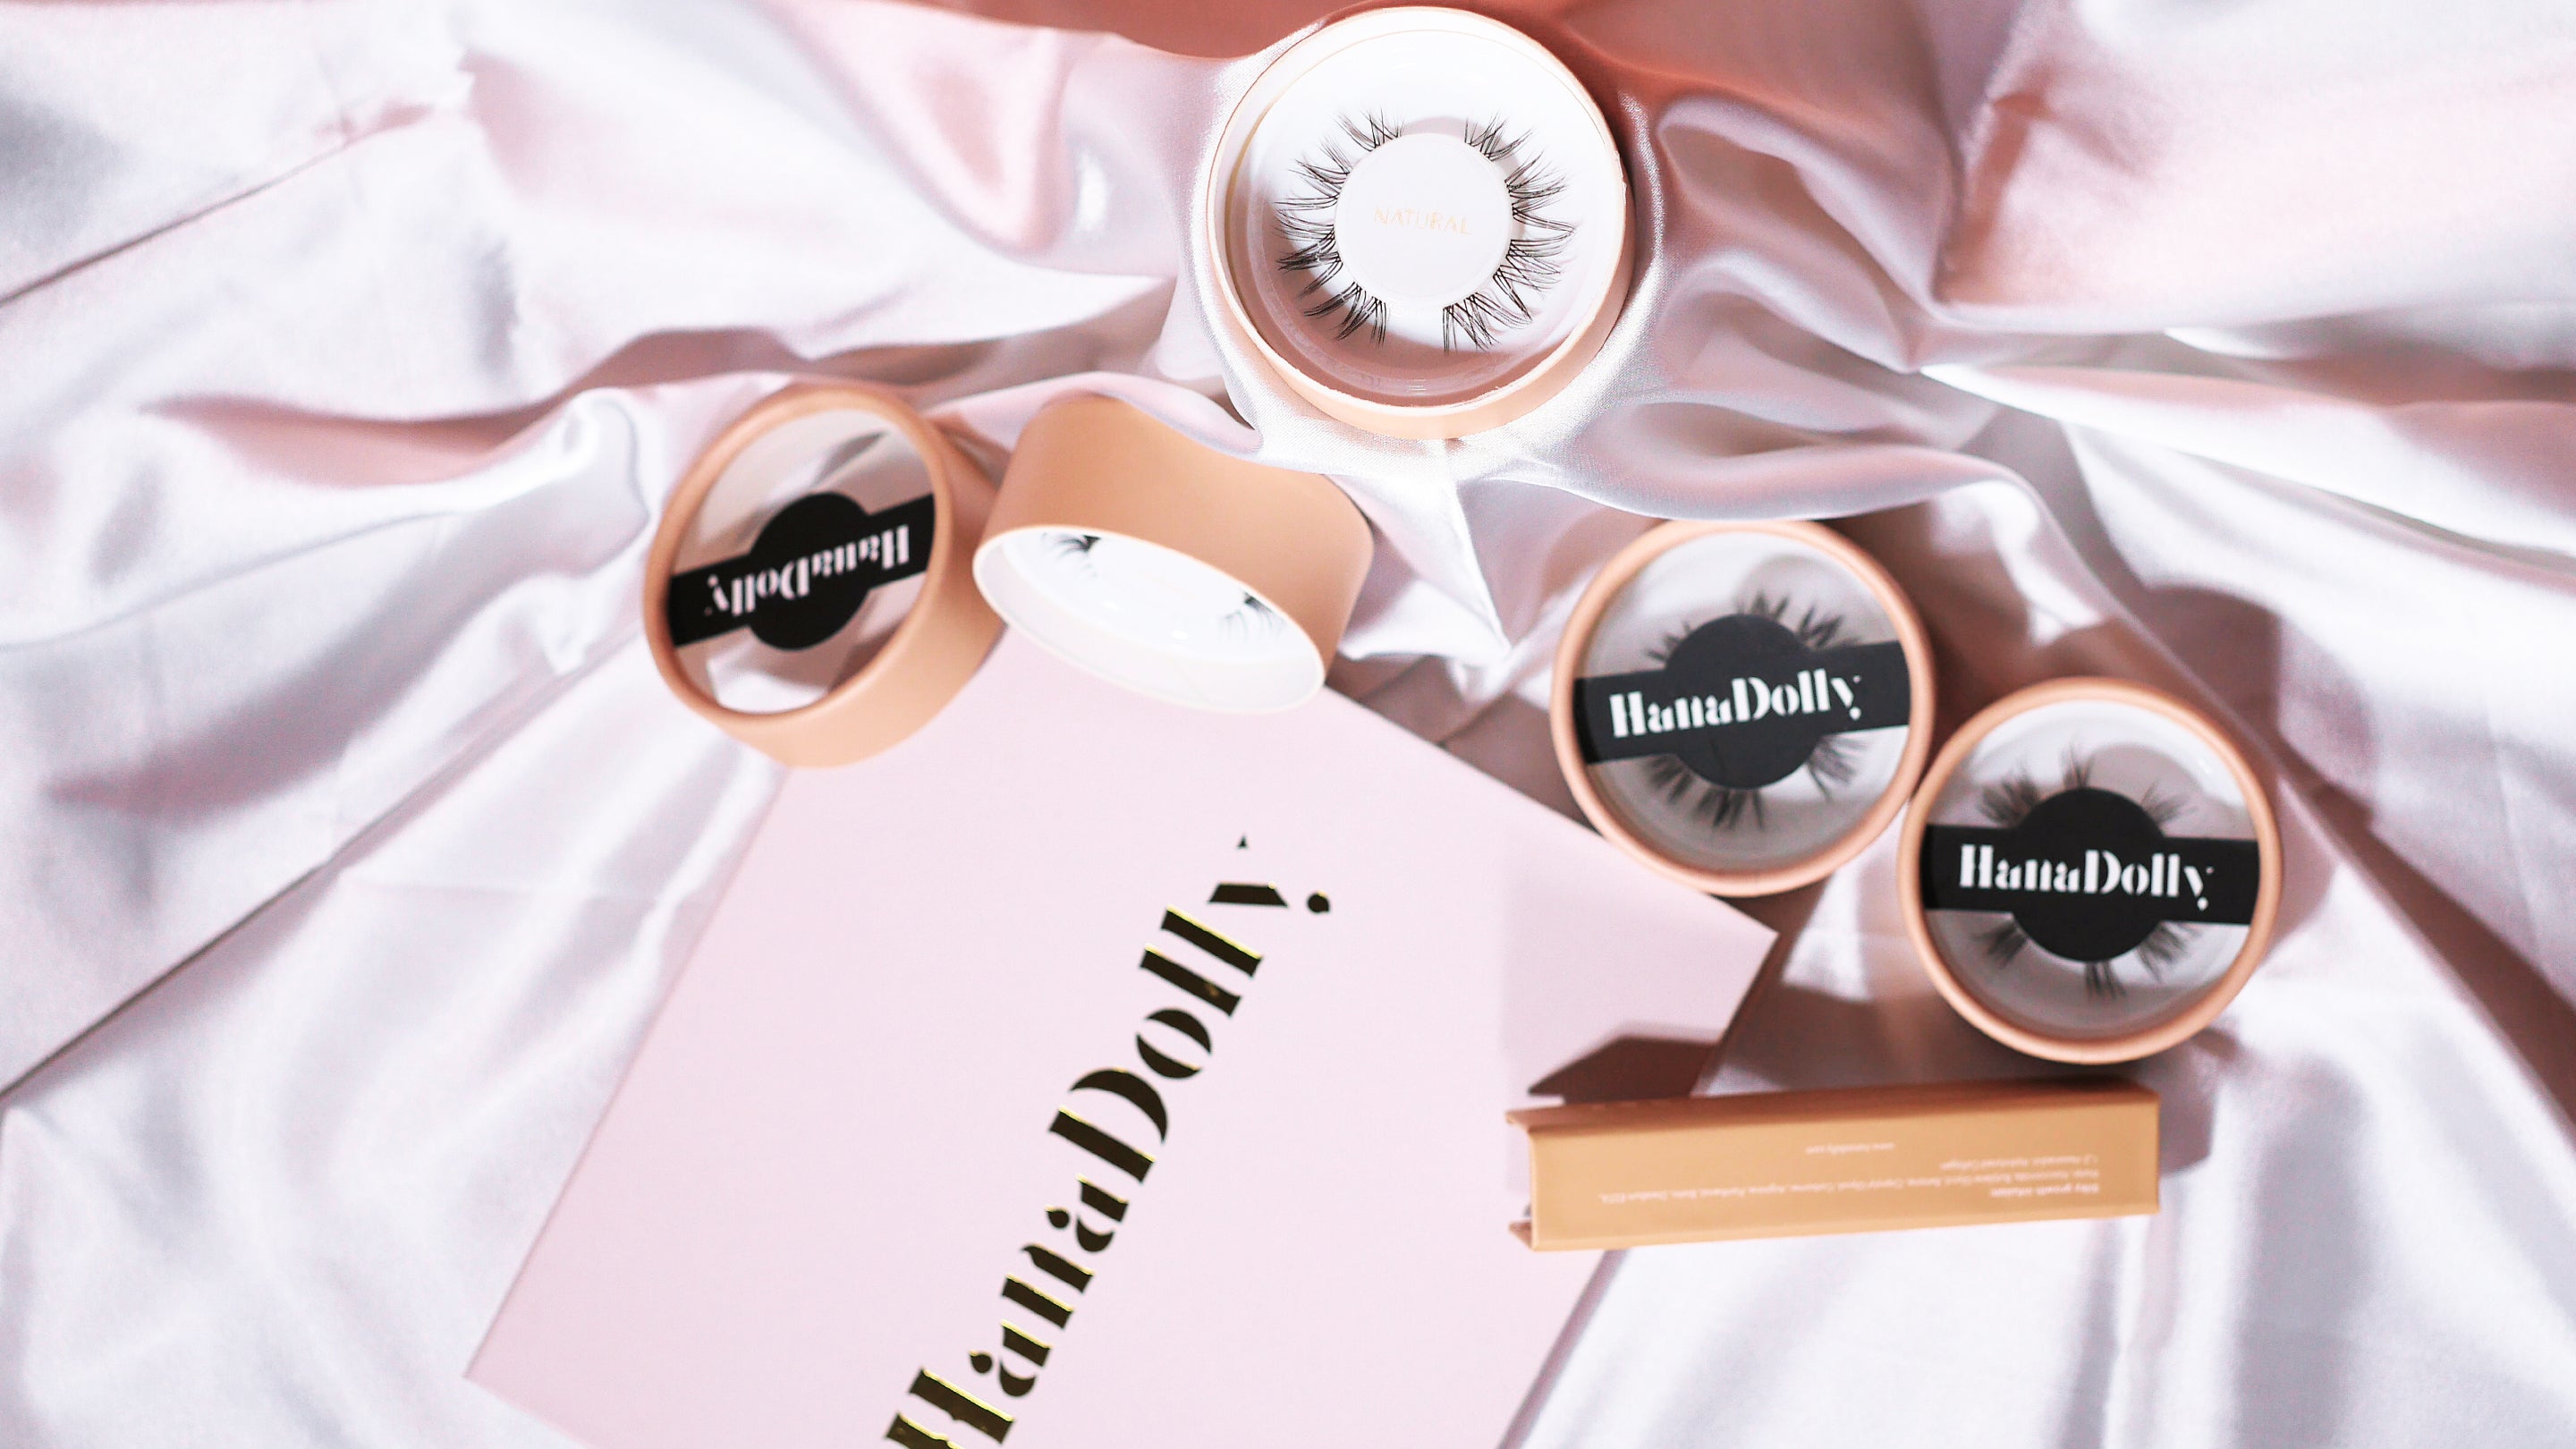


ready. set. glow.
DIY Lash
Guide.
DIY Lash
Guide.
Guide.
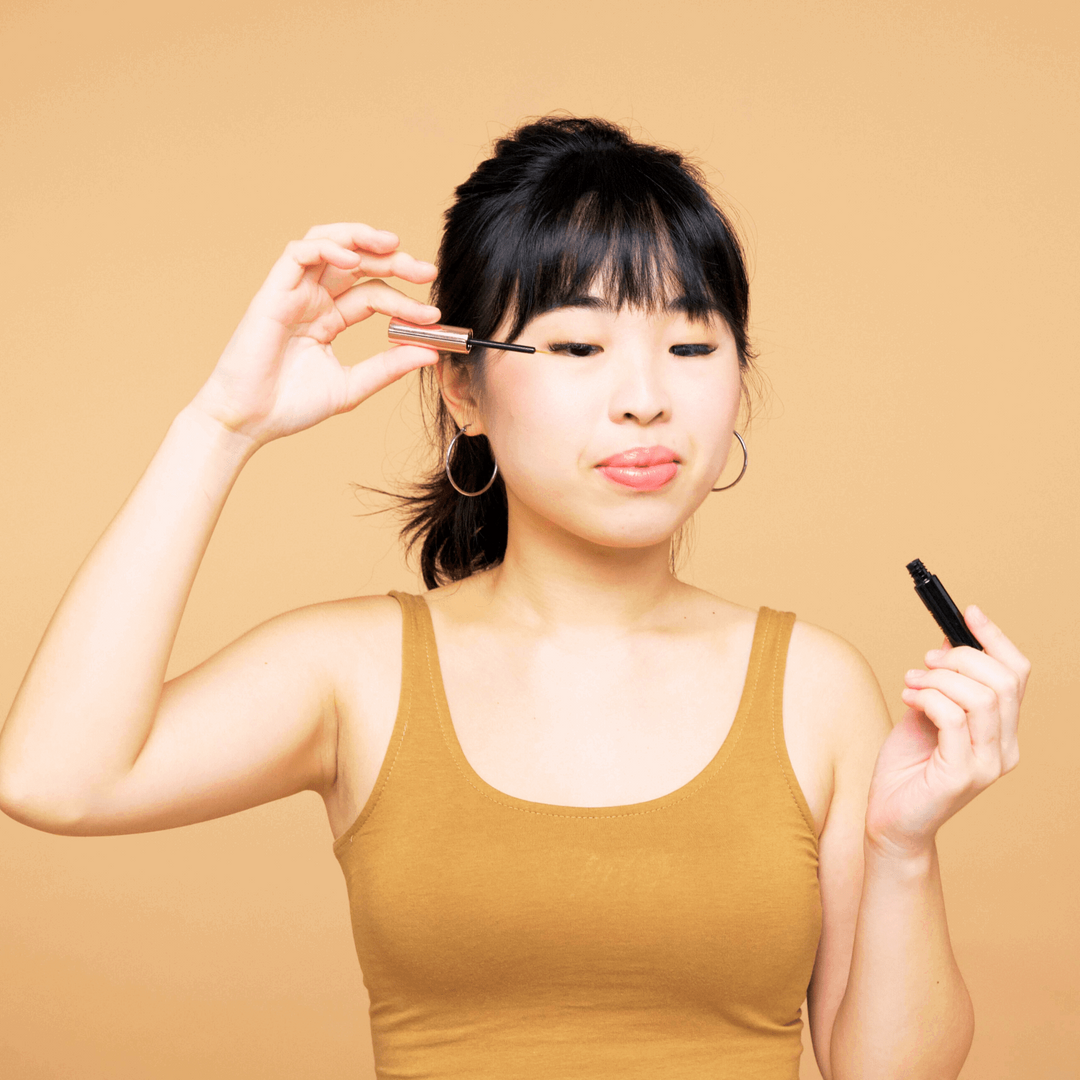
Don't fret, we're here to help! A step-by-step guide to beautiful lashes in minutes.