False lashes can transform your eyes in a flash, adding volume, length, and drama. However the ultimate beauty trick lies in mastering the art of applying false lashes so they enhance your natural beauty, giving you the "My Lash But Better" effect.
This subtle and more realistic approach to false lashes is gaining popularity, as it complements your natural lash line while providing that extra oomph. Here's a guide to how you can achieve this look.
Understanding the Basics of False Lashes
Selecting the Right Lashes
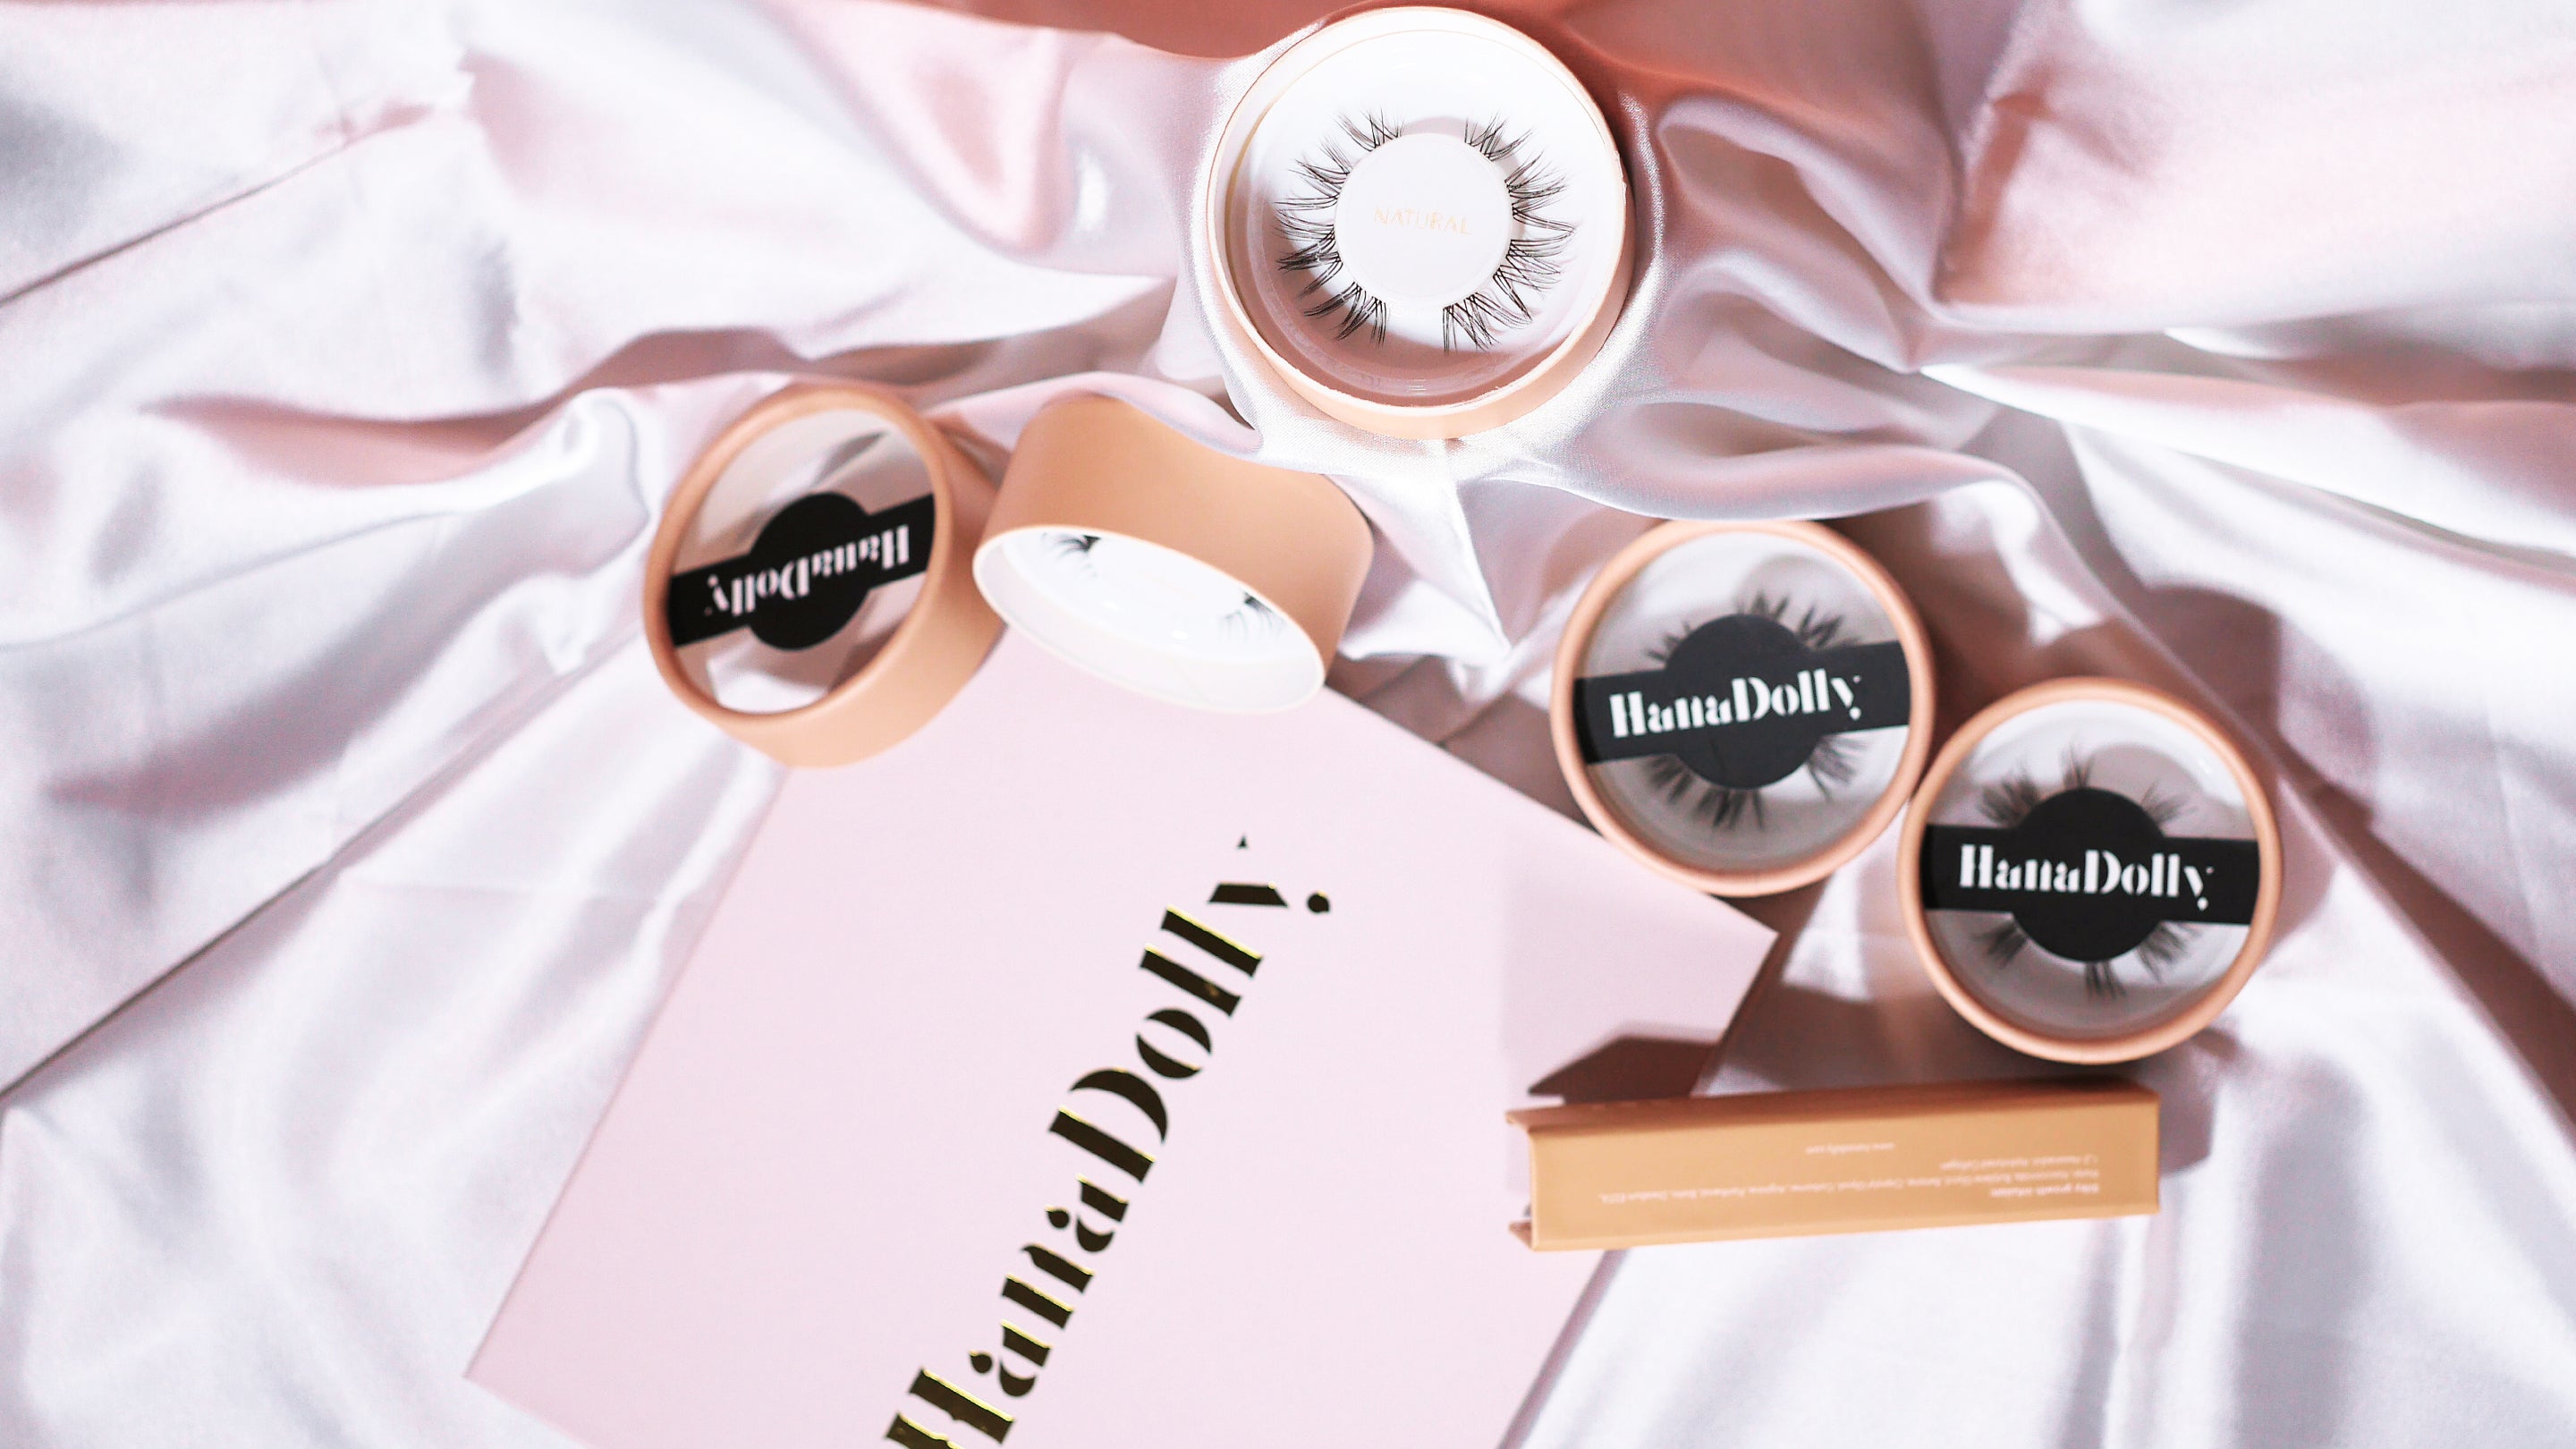
For a "My Lash But Better" effect, it's crucial to choose lashes that mimic the natural growth of your lashes. Materials matter too! The type of lash fibers used will affect how realistic the look is. Brands like Hanadolly offer premium Korean fibers with a variety of lash styles designed to blend seamlessly with your natural lashes, ensuring a look that’s both enhanced and authentic.
Tools Required
The right tools can make all the difference.
- Tweezers - for precise application
- Lash glue (bond & seal) - that provides a strong hold, but isn't too strong that it harms your natural lashes in the long run
- Lash cleanser - it's best to have a lash cleanser on hand so that you can immediately clean your false lashes after removal for multiple uses
- Lash growth serum (optional) - it's highly recommend to pair your lash extensions with lash growth serum too! False lash extensions can cause stress to the eyes and
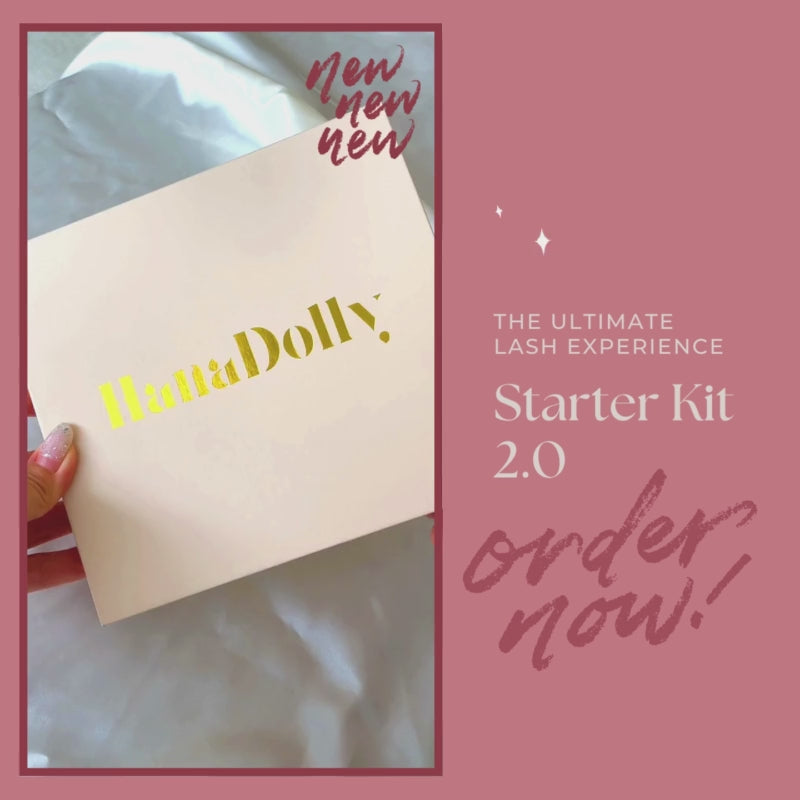
If you're looking for an all-in-one solution, check out HanaDolly's ultimate starter kit →
Preparing Your Natural Lashes
Start with a clean base. Use an oil-free makeup remover to ensure your eyelids and lashes are free of any residue, which can affect the lash glue's efficacy.
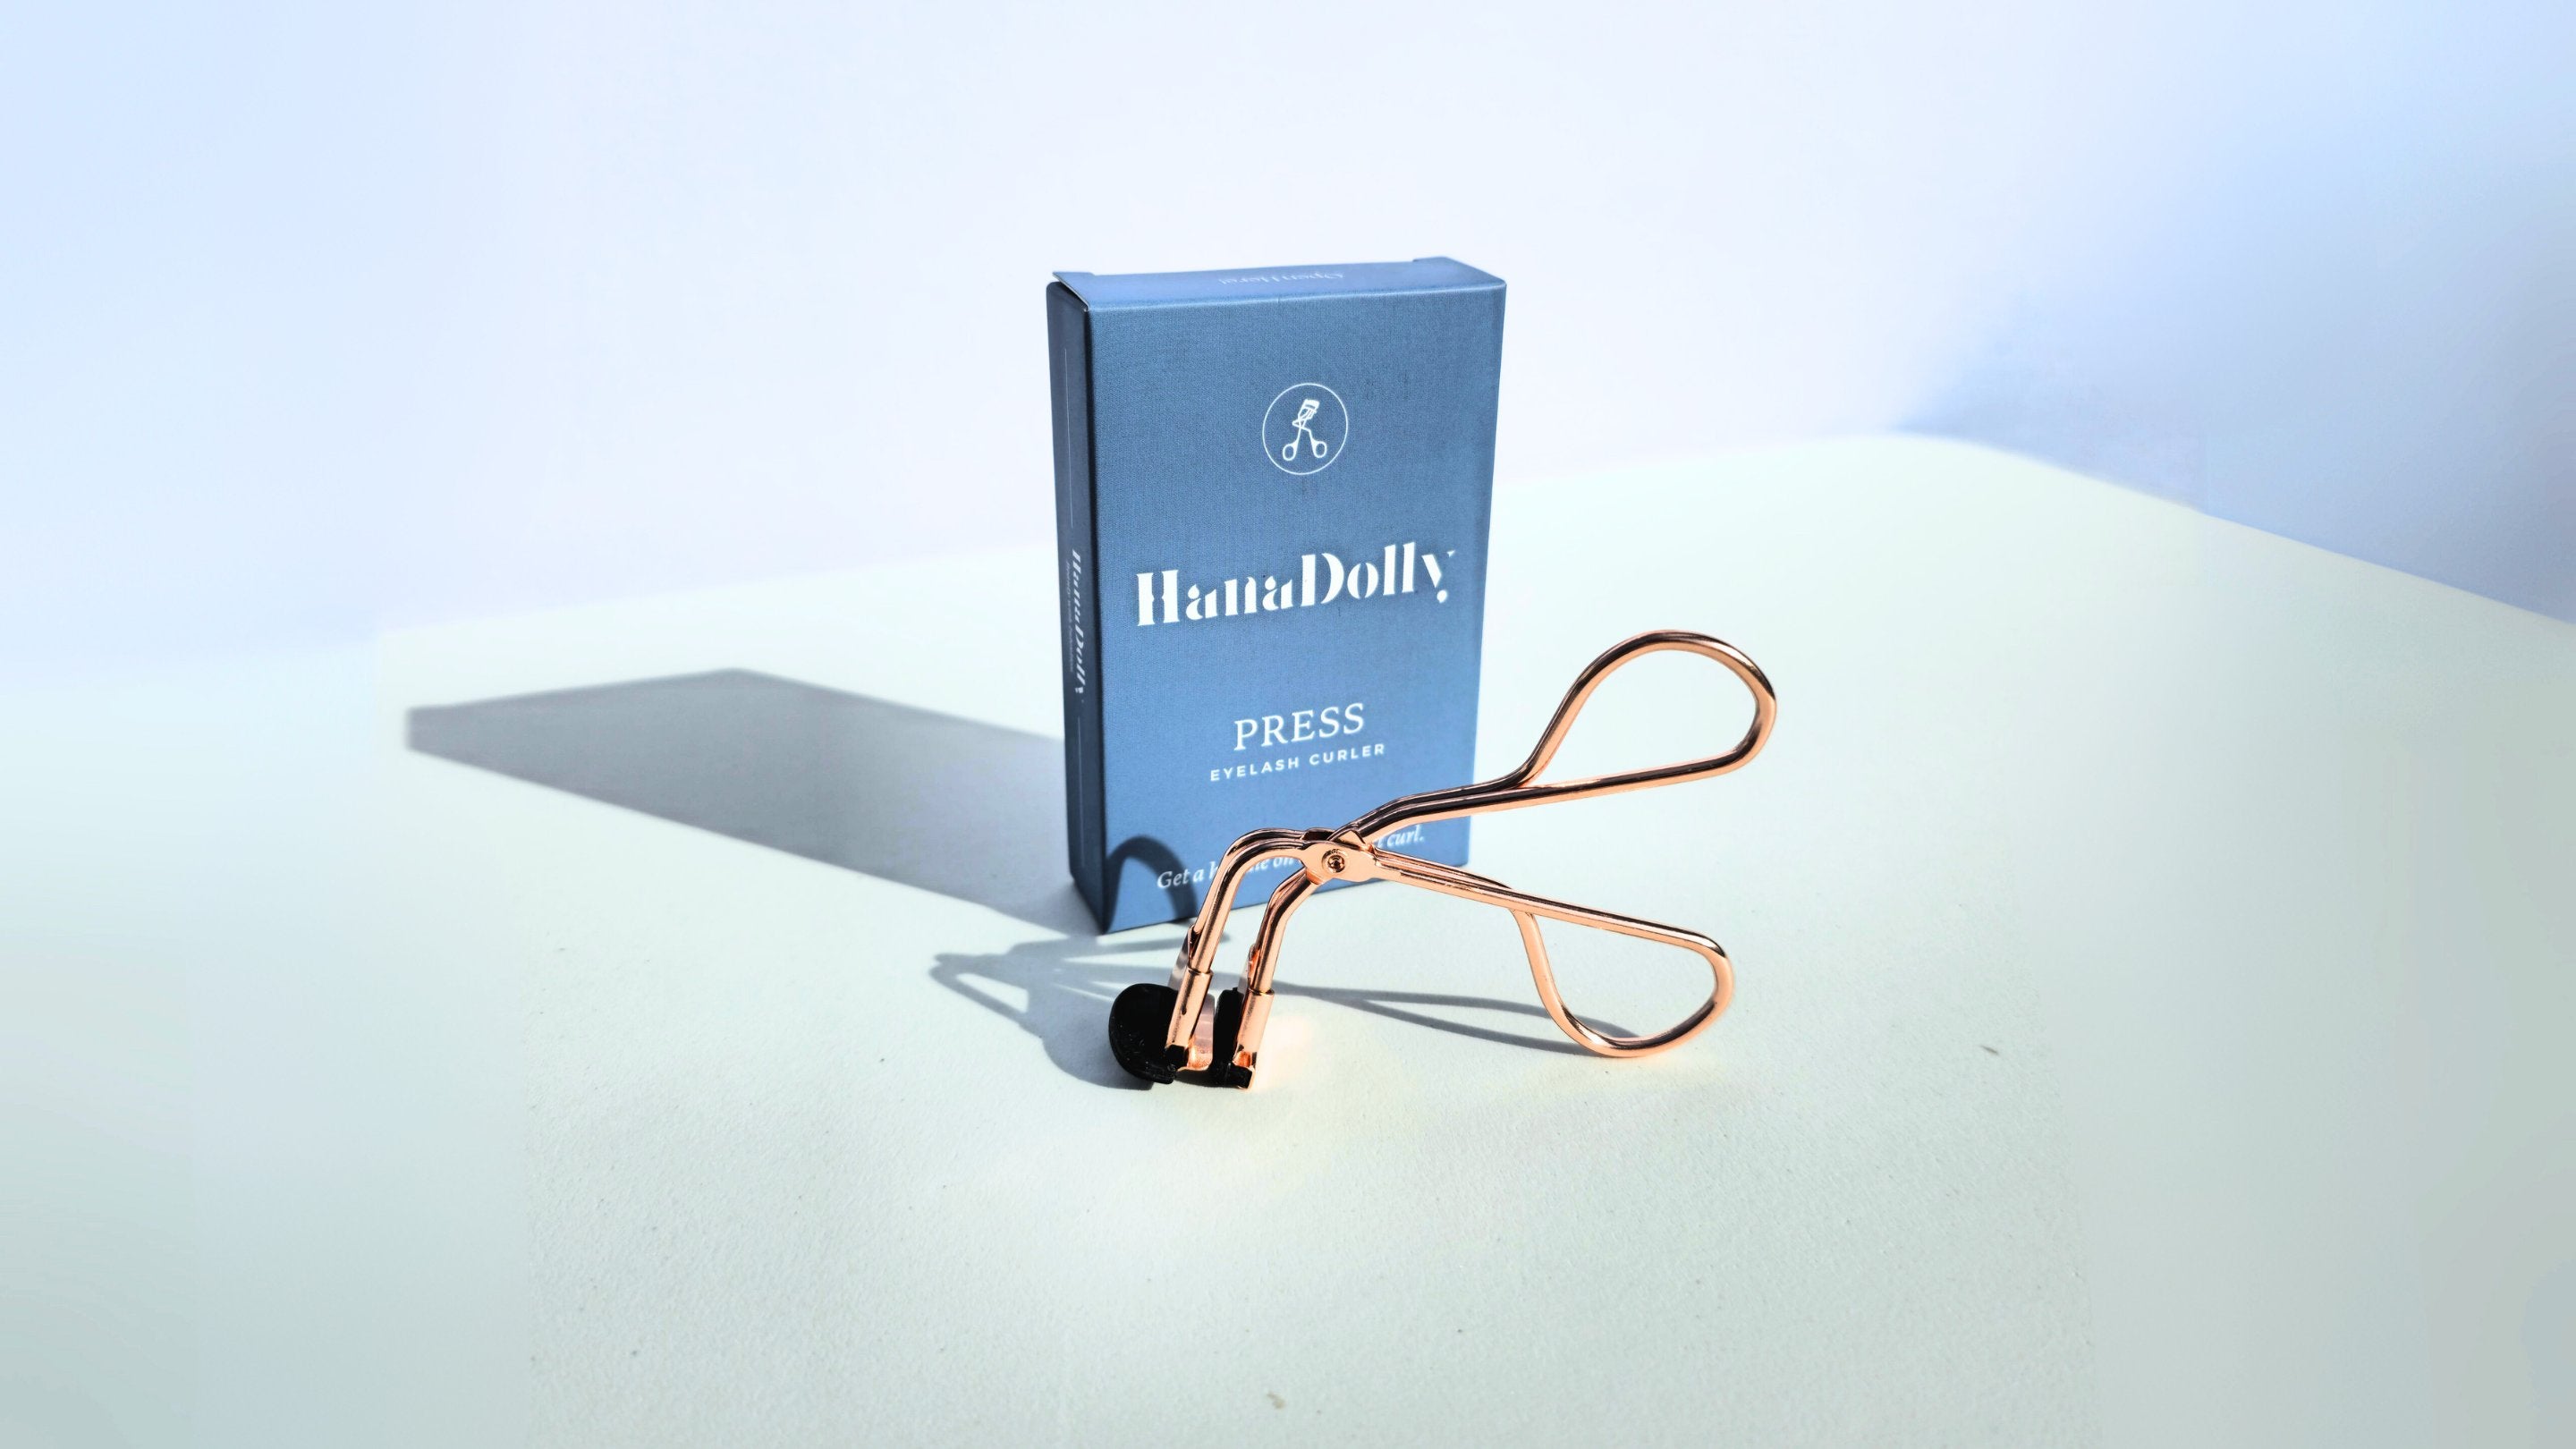
You can also choose to curl your lashes beforehand can help blend your natural lashes with the false ones seamlessly. Use a gentle squeeze at the base of your lashes with an eyelash curler.
Applying the Lashes
Applying Glue
Dot a thin line of lash glue along the band of the lashes, with a little extra at the corners. Wait 30 seconds for the glue to become tacky, which will ensure a stronger hold.
Placement
Using tweezers, place the lash strip as close to your natural lash line as possible, starting from the outer corner. Gently press down along the band to secure it, making sure there are no gaps.
Securing the Lashes
Once in place, gently press the false lashes and your natural lashes together using your fingertips or the back of the tweezers, ensuring they are fully bonded and comfortable.
Finishing Touches (Optional)
Blending with Mascara
Carefully apply a coat of mascara to blend your natural lashes with the false ones, creating a seamless look. Avoid heavy applications, as this can weigh down the lashes and detract from the natural effect.
Eyeliner Application
Use a fine-tip eyeliner to fill in any gaps between the false lashes and your natural lash line, helping to create a seamless transition and enhance the natural look.
Lash Curler
For the final touch, gently curl the lashes again to blend and set the shape. This helps in merging your natural and false lashes, enhancing the overall "My Lash But Better" effect.
Maintenance and Lash Care
Cleaning and Storing
Properly cleaning and storing your false lashes can extend their life. Use a gentle, oil-free makeup remover to clean the lashes after each use, and store them in their original case to maintain their shape.
Lash Health
It's crucial to maintain the health of your natural lashes. Ensure you're giving your lashes regular breaks from false lash applications and removing the lashes gently to prevent any damage to your natural lashes.
We also highly recommend using the PRIME lash growth serum for nourishment and a much needed lash boost. It's made to work well with or without your false lashes on!
If you enjoy natural-looking lash styles, click here to check out our best-selling MLBB lash style: BARE that helps create the desired "no lash makeup" look


