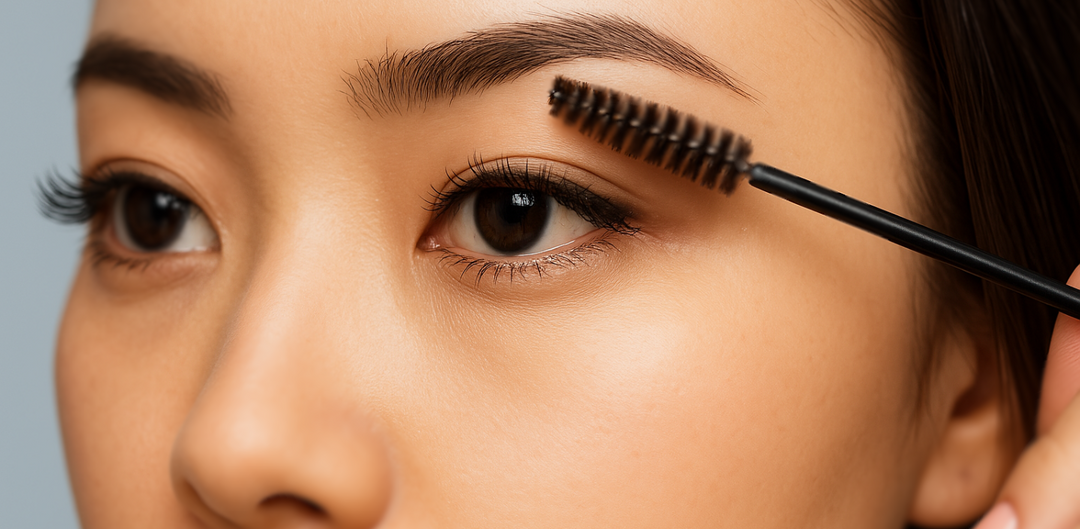
What is the Underlash Method?
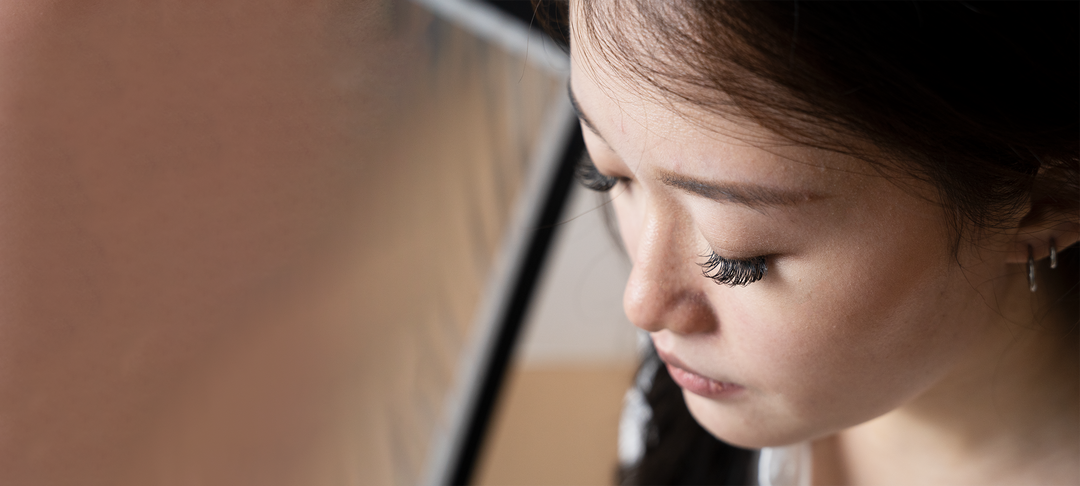
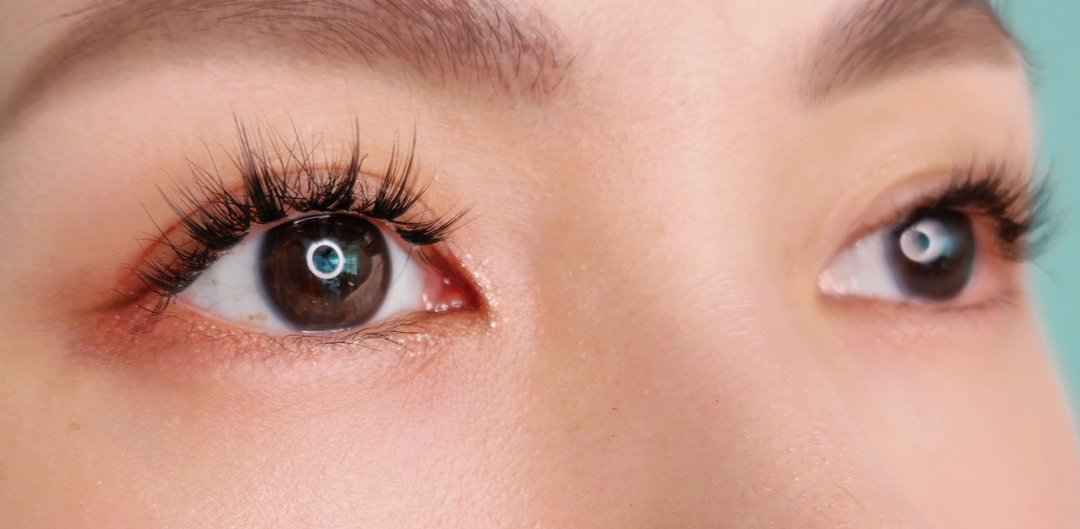
Underlash extensions (also known as underlashing) refer to a lash technique where false lashes are applied beneath your natural lash line rather than on top. Unlike the traditional method of placing lashes above your upper lash line, this innovative technique delivers a more natural & seamless look. The falsies blend better with your own lashes, offering a softer, more realistic finish that almost mimics the look of naturally full lashes.
Think of it as a little beauty hack that takes your lash game to the next level. This method is used by both salons and DIY lash extensions to give the appearance of fuller lashes without the tell-tale strip line that often comes with traditional lash application.
Benefits of Underlashing
Why are so many beauty lovers raving about this new technique? Aside from its natural appearance, there are several other benefits that make underlashing a must-try:
- No Obvious Lash Band: The lash band is completely hidden when applied underneath your natural lashes, leaving no visible trace that you’re wearing falsies.
- More Natural Looking: No visible lash strip and better blending means your lashes look less “drama” and more natural.
- Less Stress & Gentler on Your Natural Lashes: One of the biggest complaints about traditional false lashes is how heavy they can feel on your eyelids. Attaching lashes under the lash line is gentler and much less damaging. This helps maintain the health of your natural lashes over time.
- Eye-Lifting Effect: This technique tends to offer a more subtle yet effective eye-lifting look, perfect for those who want a gentle enhancement without an overly dramatic result.
How to Apply Underlashes – Step-by-Step Guide
Underlashing may sound tricky, but it’s easier than you think! Here’s how you can perfect the technique at home:
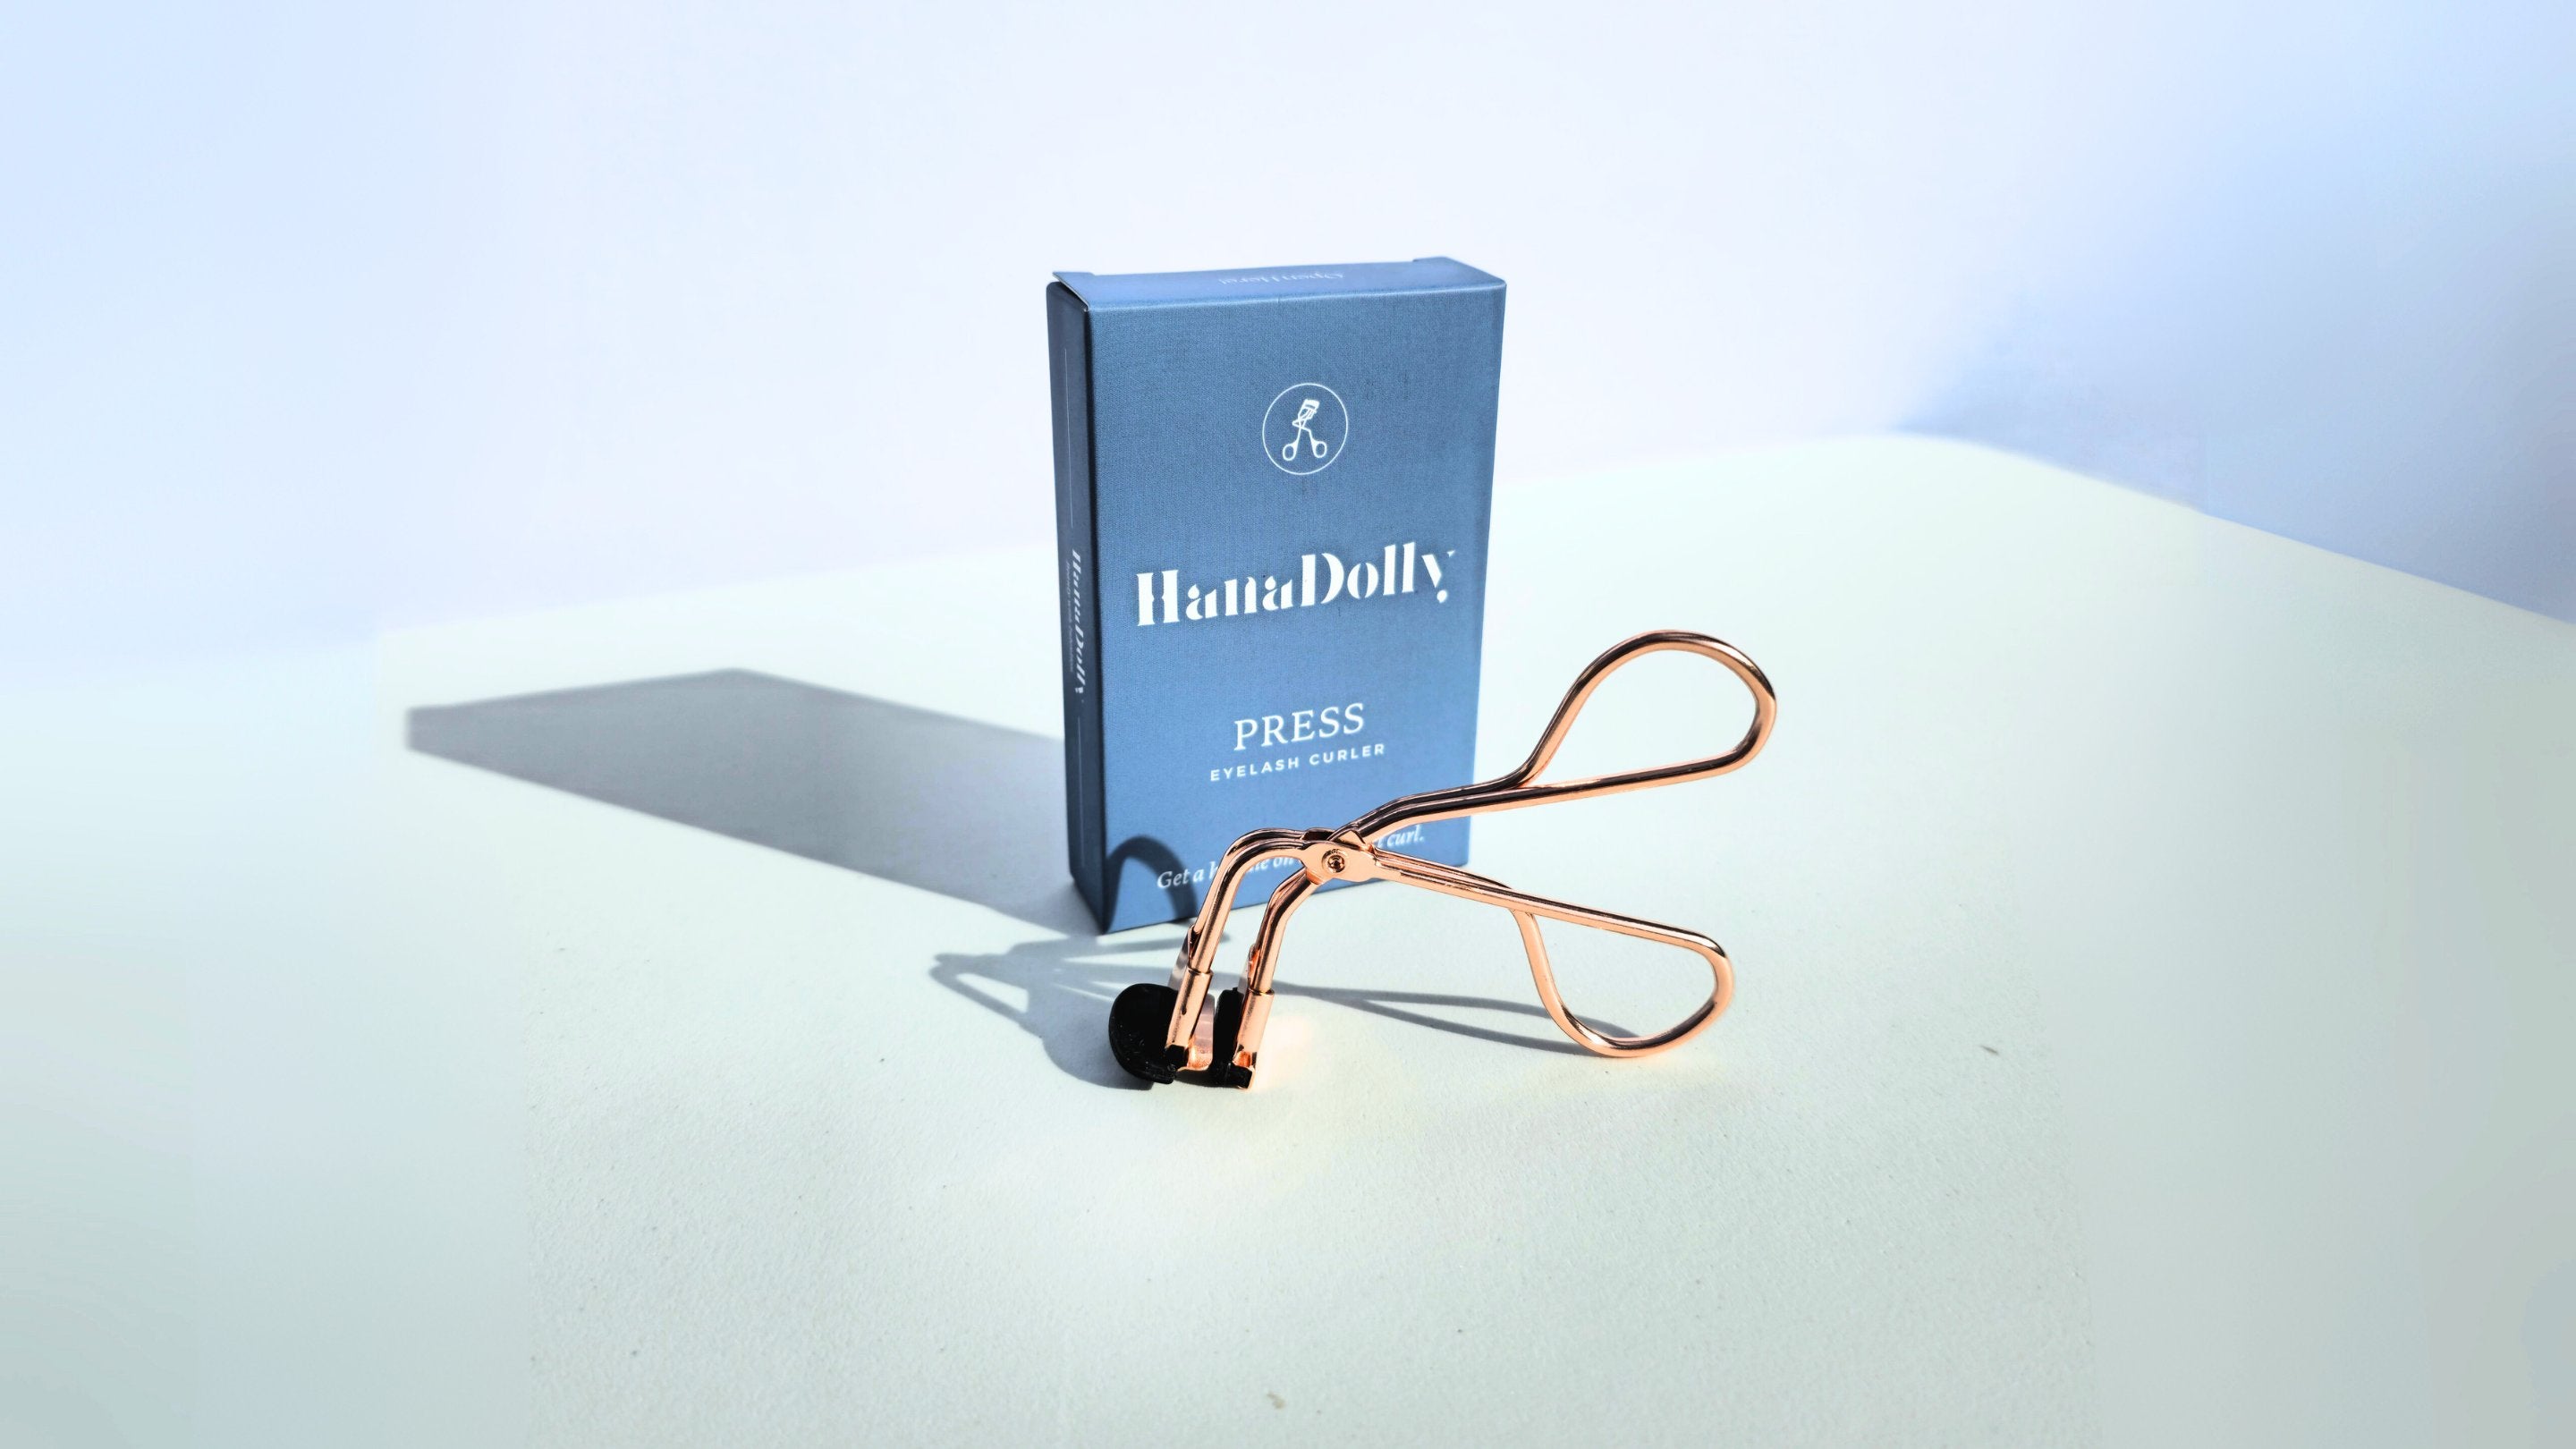
- Prep Your Natural Lashes: Start with clean lashes. Remove any makeup or oils to ensure the lash adhesive can stick properly. You can also curl your natural lashes lightly if you want to achieve a more pronounced lash lift effect.
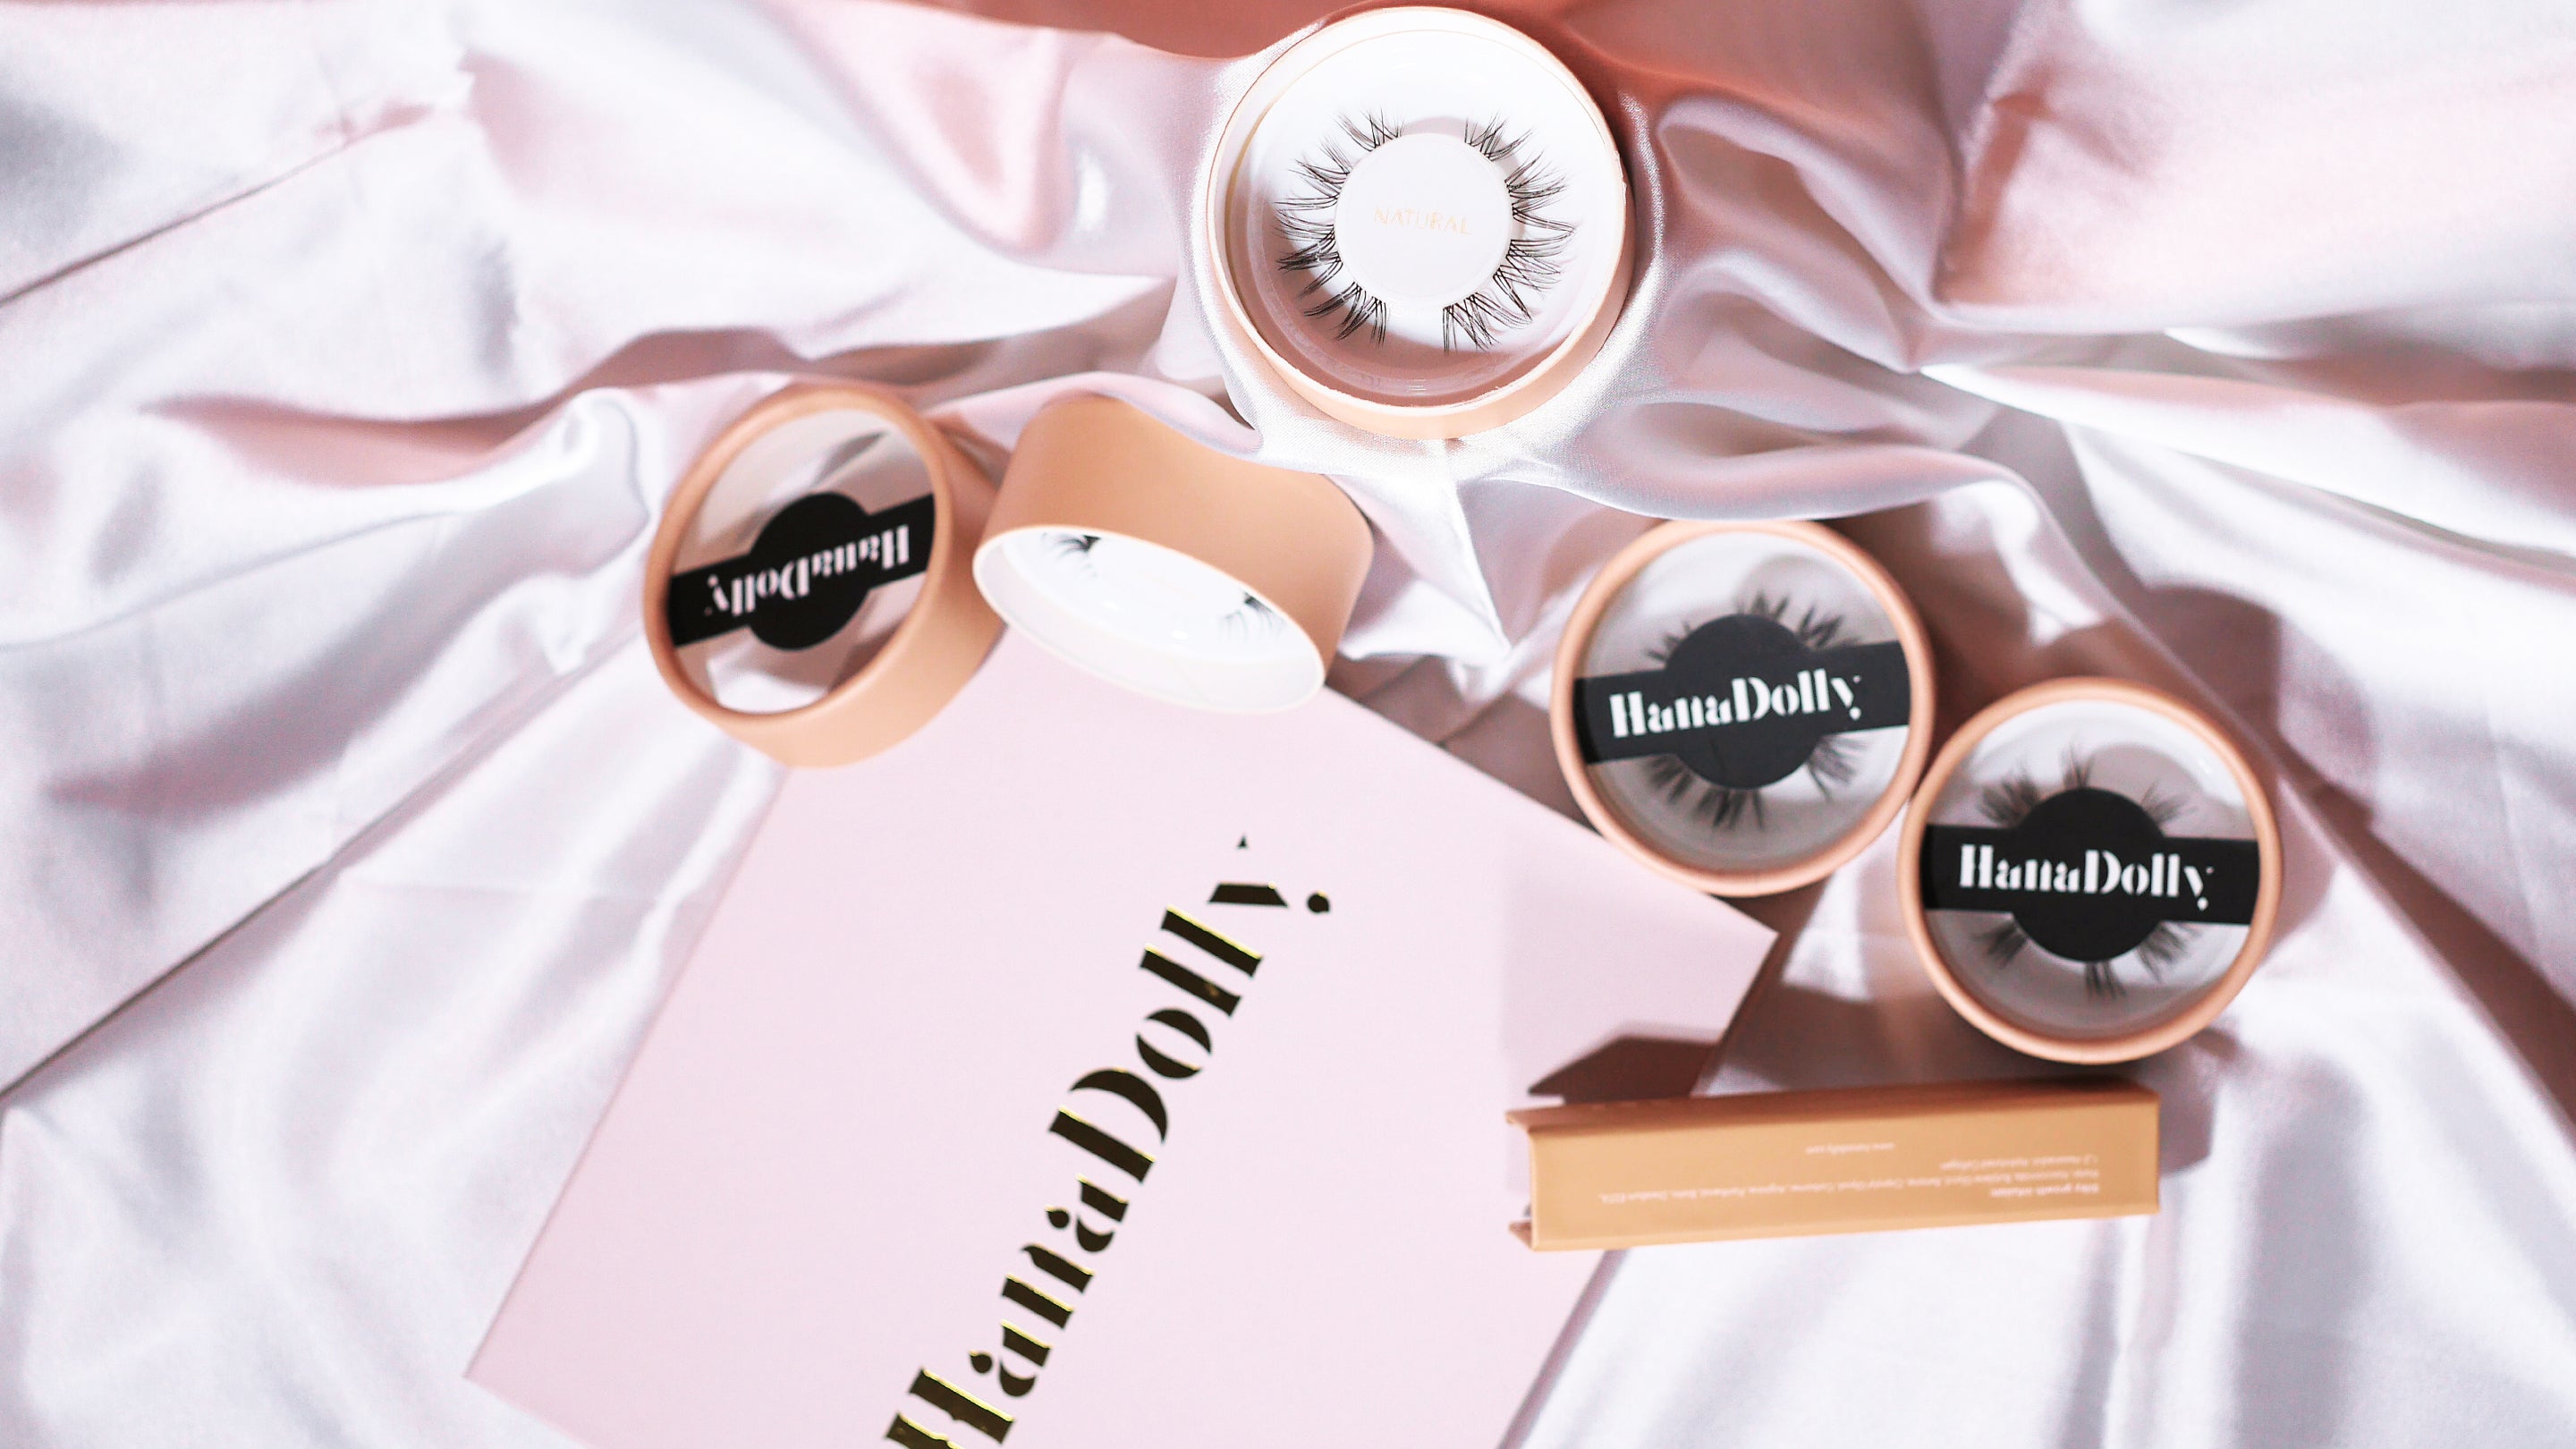
- Choose Your Falsies: Opt for lightweight, flexible lashes that won’t weigh down your natural lashes. For DIY users, it’s essential to pick lash strips or segments designed specifically for application below the lash line, like those found in our Lash Routine Starter Kit.
- Apply Lash Adhesive: Use a high-quality lash adhesive, and apply a thin layer to the lash band. Let the glue sit for about 20-30 seconds until it becomes tacky. This ensures the lashes stick firmly.
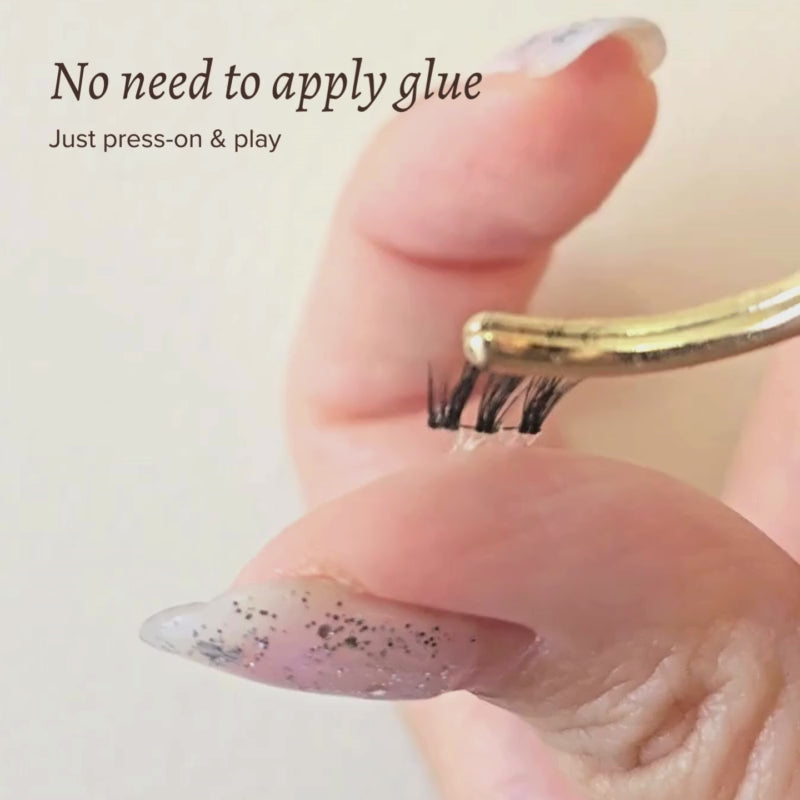
- Placement is Key: This is the magic moment! Gently place the lash strip or segments underneath your natural lash line. You’ll need to hold the lashes close to your eye, but be careful not to touch your waterline. Use tweezers or an applicator for precision.
- Press and Secure: Once placed, gently press the false lashes into your natural lashes to secure them. You can use the back of your tweezers or a lash applicator to ensure everything is in place. You can use a spoolie to brush through them for an extra seamless finish.
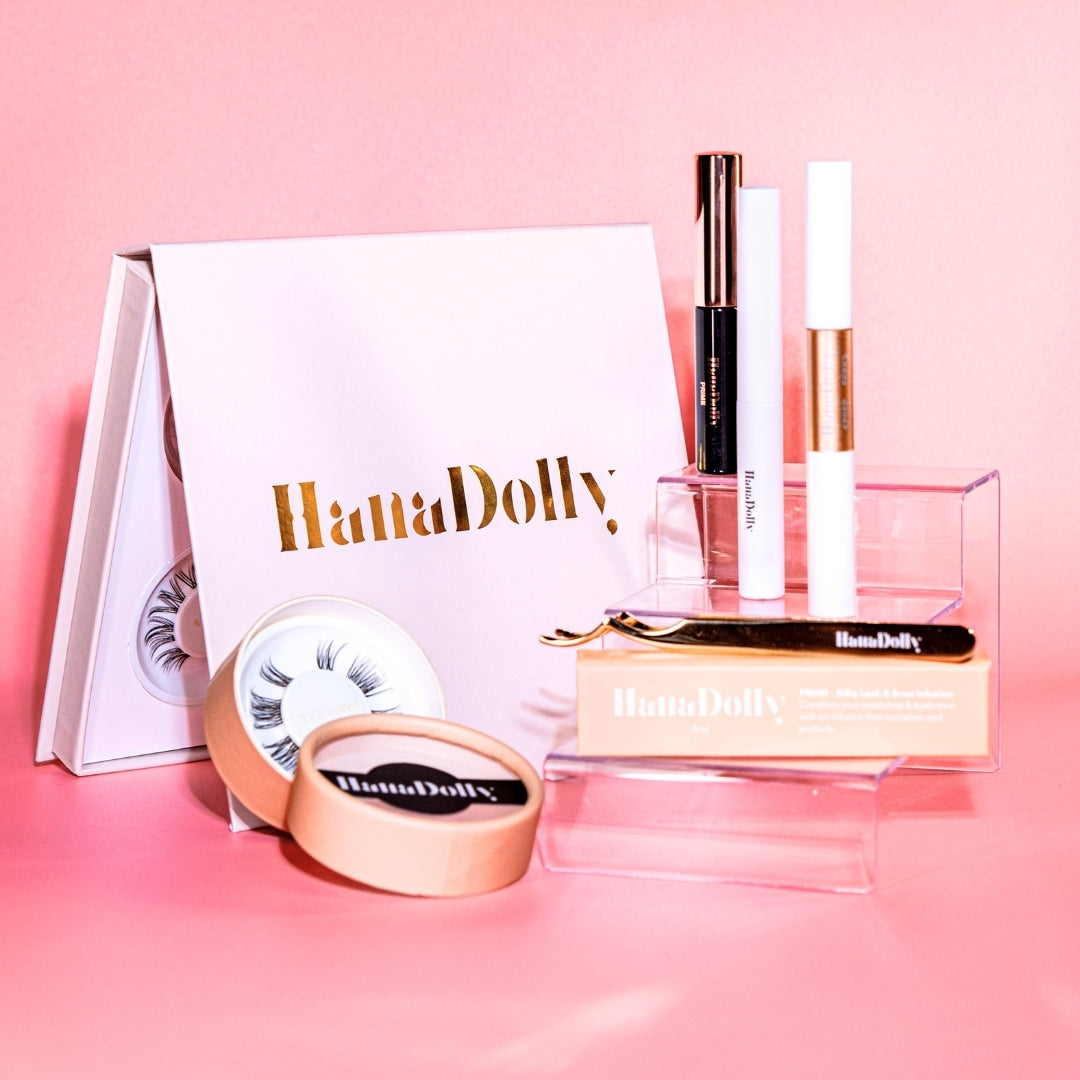
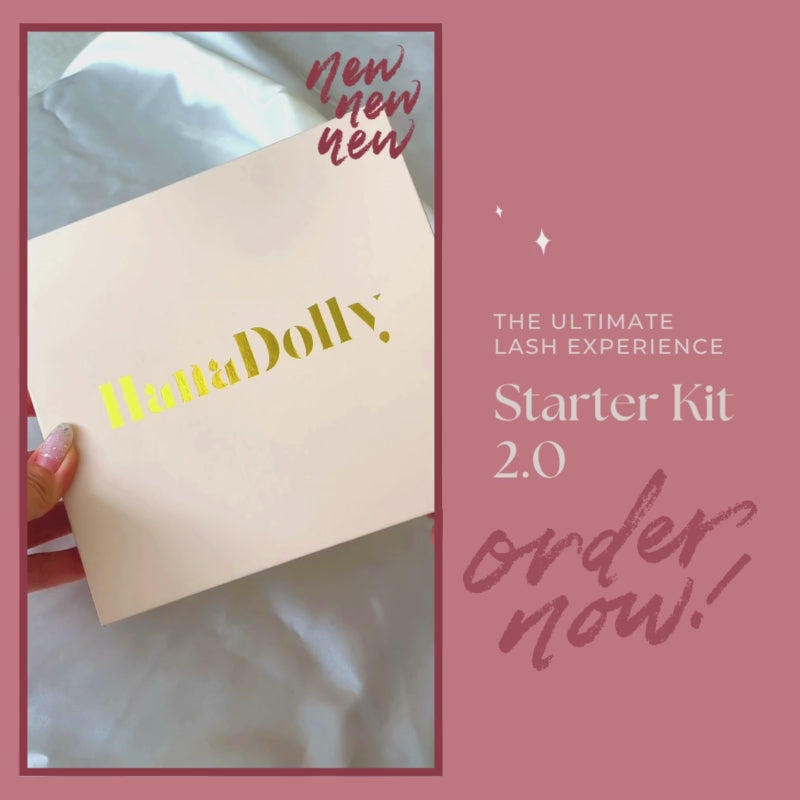
If you’re ready to dive into the world of underlashes, our Ultimate Lash Routine Starter Kit is the perfect place to start. Designed for convenience in mind, this kit includes everything you need to master the technique with ease. With lightweight, vegan, and cruelty-free lashes that are specifically designed to protect your natural lash health, you'll be flaunting beautiful, fluttery lashes in no time - without the expensive salon appointments or heavy lash bands.
Say goodbye to the struggles of traditional false lashes and hello to effortless lash beauty, all from the comfort of home. You’re the boss of your beauty, after all!


