Is the fear of application and removal of DIY eyelash extensions keeping you from trying them out? DIY eyelash extensions are an amazing solution that helps you save time, money and stress when it comes to having beautiful lashes, but some women a bit of a mental block because they're worried if it's going to be really difficult to master.
If you've ever wondered about just how easy it would be to remove DIY eyelash extensions by yourself, you're not alone. The good new is, the process is simpler than you might think when armed with the right tools and techniques!
Whether you're a first-timer or simply looking to perfect your routine, read on to learn how to achieve expert results at home. Let’s dive in!
Table of Contents
- How to Safely Remove DIY Eyelash Extensions: Soaking Method
- Alternative Method: Using Steam and Oils
- Techniques to Protect Your Natural Lashes
- How to Clean & Reuse Your DIY Eyelash Extensions
- Essential Aftercare for Natural Lashes
How to Safely Remove DIY Eyelash Extensions: Soaking Method
Gather Your Tools
Make sure you collect all essentials before beginning the process:
- A bowl of hot water or a facial steamer
- Eye-safe oils (e.g., coconut oil, olive oil, or a specialized lash remover)
- Clean cotton pads or swabs
- A mild oil-based makeup remover (optional)
- A spoolie (mascara wand) or soft bristles brush
- Microfiber towel
- Tweezers (use cautiously to remove stubborn adhesive residue)
Choose a quiet, well-lit area where you can sit comfortably. Remove any makeup on your face and eyes (especially eyeliner and mascara) that could interfere with the process. Remember to also wash your hands thoroughly to prevent transferring bacteria near the sensitive eye area. Place a mirror at an optimal angle to ensure you have a clear view of your lashes.
Step 1: Apply Lash Cleansing Remover
Get a proper eyelash cleansing remover and apply the cleansing fluid onto both your eyes (at the lash line where most of the lash adhesive glue was bonded). It's best to let it sit for awhile 5-10 minutes so that the cleansing remover has a bit more time to slowly dissolve the lash bond.
Step 2: Comb Downwards to Remove Lash Clusters
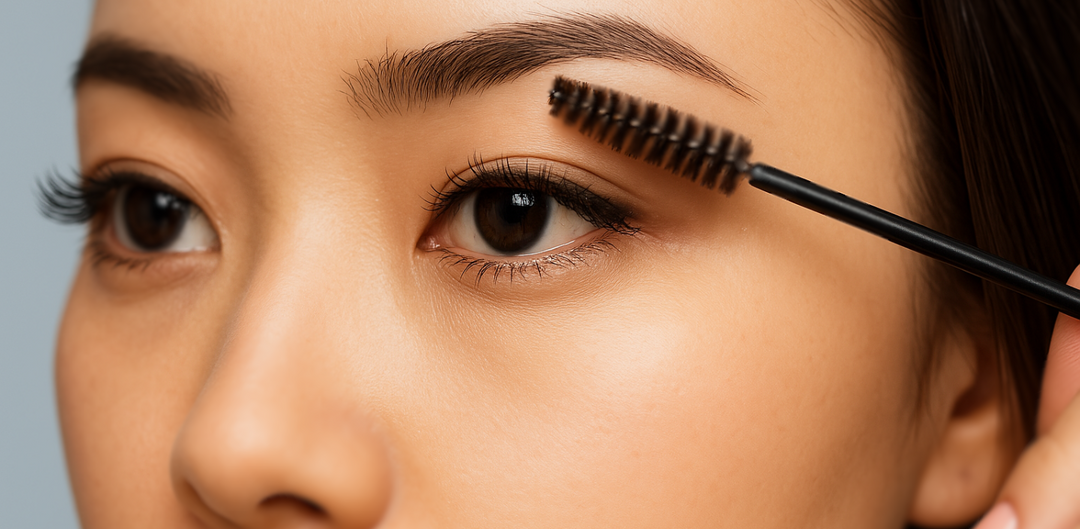
Use a spoolie or brush to comb in a downwards motion, applying a little bit of pressure on the eyelash extensions (but not too hard that it presses against your natural lashes). If you're using HanaDolly's PURIFY, you can simply use the tip to comb your DIY eyelash extensions down.
If the cleansing fluid has effectively dissolved the lash adhesive, they false lashes should now glide off easily. Repeat this until you have managed to comb all the lash clusters off.
NOTE: At any point in time, if you feel a pain in your natural lashes or the false lashes are violently tugging against your natural lashes - do not continue to pull down as this can pull off your natural lashes as well! Instead try to apply a bit more of the lash remover and wait for the bond to dissolve properly first.
Step 3: Clean Off Residue
Once the lash clusters are off, you can continue to comb your natural lashes upwards or downwards to remove all residue like any dirt, oil or lash adhesive residue that is still stuck in your natural lashes.
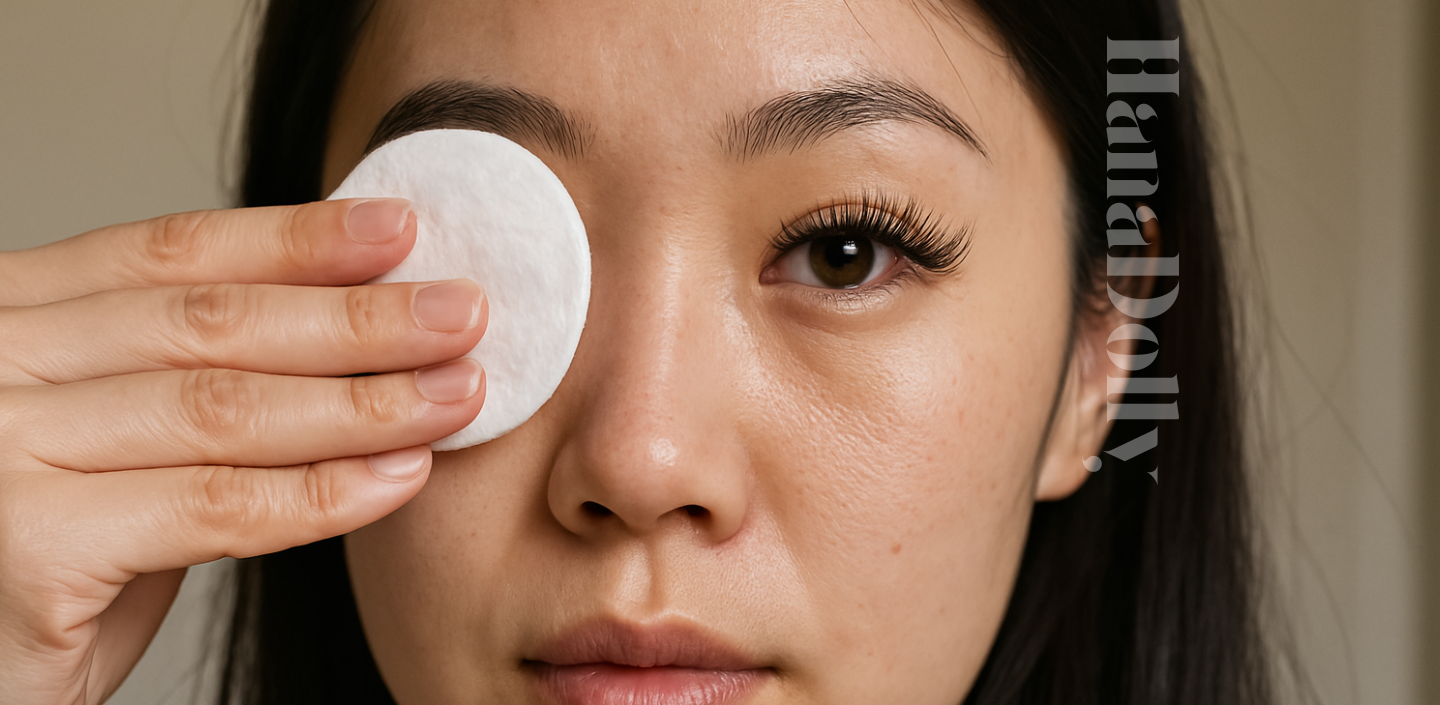
Step 4: Use a Cotton Pad or Soft Cloth to Wipe Your Eyes
The next step is to simply wipe your eye area using a soft cloth or cotton pad to remove any other particles or dirt around. You may then wash your eyes after and you're all done!
Alternative Method: Using Steam and Oils
Steam and oils are highly effective at breaking down eyelash adhesive gently, reducing the risk of damage to your natural lashes.
Step 1: Soften Adhesive with Steam
- Facial Steamer Option: Use a facial steamer positioned about 8-10 inches away from your face. Allow the steam to target your lashes for about 10-15 minutes to soften the adhesive bonds.
- Bowl of Hot Water Option: If you don’t have a steamer, boil water, let it cool slightly, and pour it into a bowl. Drape a towel over your head to trap the steam, ensuring the hot vapors loosen the adhesive. Hold your position for approximately 10 minutes, maintaining a safe distance to avoid burns.
Steam helps open the pores and softens the adhesive, setting the stage for smooth removal.
Step 2: Dissolve Adhesive with Oil
Once the adhesive is softened, apply an oil of your choice:
- Dip a clean cotton pad or swab into coconut oil, olive oil, or a lash-safe remover.
- Dab the oil along your lash line, ensuring even coverage but avoiding eyes.
- Allow the oil to sit for 2-3 minutes to penetrate and dissolve the glue further.
If all extensions don’t release easily after the first application, reapply oil and wait a few more minutes. Avoid rubbing or tugging, which can pull out your natural lashes.
Techniques to Protect Your Natural Lashes
During the removal process, remember that the safety of your natural lashes should take top priority! You don't want to remove your DIY eyelash extensions only to find that all your natural lashes have also fallen out in the process!
Follow these tips for safe and efficient removal:
- Take it Slow: Remove small sections or individual lashes at a time for better control.
- Gentle Tugs Only: Never forcefully pull extensions off if they resist—this could damage your natural lashes.
- Reapply When Needed: If the adhesive remains stubborn, repeat the steam or oil application to avoid unnecessary pressure on your lash line.
A patient approach guarantees the safety and health of your lashes while achieving effective removal.
How to Clean & Reuse Your DIY Eyelash Extensions
Now that you've successfully removed your lash extensions, the next part is on how to clean them so that you can reuse them again later.
The first thing to note is that not all false eyelashes are reusable, so you'll need to check that the brand you're using actually allows for you to reuse them. Cheaper false lashes are often made with more flimsy materials that do not allow you to effectively remove the bonded lash adhesive glue and hence only serves as one-time use.
If you're using quality reusable DIY eyelash extensions like HanaDolly's Agile collection, here's how you can properly clean your lashes so that you can wear them again in future when you're ready!
Step 1: Soak Your DIY Lashes
Carefully inspect each DIY lash cluster for leftover glue on them (chances are there will be a bit). Place the lash clusters into a small container, add a little water and leave them to soak overnight.
Use tweezers or a spoolie to scrape off small adhesive patches, ensuring you don’t damage the lash band. Be gentle to maintain their structure.
Step 2: Brush of Remaining Residue
After soaking, use an eyelash cleaning brush or spoolie to brush of any remaining residue on the lash clusters.
Step 3: Wash with a Mild Cleanser
Prepare a bowl of warm water with a drop of baby shampoo or mild makeup remover. Swirl the lashes in the solution to remove oils or debris, then gently clean with your fingers.
Step 4: Dry and Store
Pat the lash extensions dry using a microfiber towel. Place them back in their original packaging or a sterilized container to maintain proper shape and curve, ensuring they’re ready for reuse.
Essential Aftercare for Natural Lashes
After removing extensions, your natural lashes need care and nourishment to recover. Follow these aftercare tips:
- Hydrate and Strengthen: Apply castor oil or a specially formulated lash serum to promote healthy growth. Use a clean spoolie to coat your lashes nightly.
- Gentle Cleansing: Stick to a mild, pH-balanced cleanser when washing your face, being careful not to irritate the delicate eye area.
- Pause Application: Refrain from applying new extensions or heavy mascara for a few days to allow natural lashes time to rejuvenate.
Removing DIY eyelash extensions at home isn't hard, but requires a little bit of patience and care during the process. Remember to always take good care of your natural lashes during the process to prevent any damage.
Additionally, proper maintenance of reusable lash extensions maximizes their lifespan, giving you more value for your investment.


